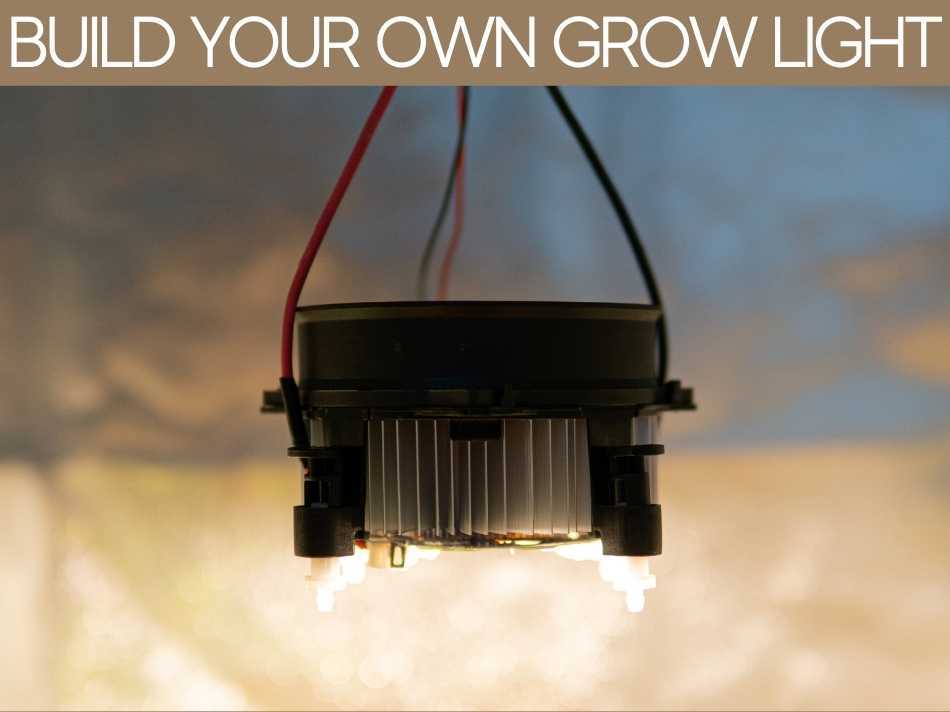
Growing plants indoors requires a grow light, but it doesn’t need to be expensive. In this blog post, we’ll show you how to build your own grow light with just a few simple supplies.
To build your own grow light, you will need a sturdy shelving unit and LED grow light bulbs. To maximize efficiency, install multiple LED bulbs or an LED strip to emit various spectral colors, including red, blue, green, and yellow. Use a timer to ensure your plants get the right amount of light.
Keep reading for a more detailed, in-depth explanation on how to make a DIY grow light.
I’ll cover everything you need to know about choosing the color spectrums to install, assessing what level of exposure is ideal for plant growth, and maximizing the overall efficiency of your grow lights.
How To Make a DIY Grow Light
Grow lights are very crucial tools in urban gardening.
They’ll serve as an alternative source of light if you cannot position your plants in an open area with direct access to natural sunlight.
Unfortunately, building a grow light is not something you can figure out on your own.
So if you forgo the correct instructions and simply set up random lights, you won’t yield results.
If you’re curious whether you can grow veggies with grow lights, check out our complete article.
Construct the Shelving Unit
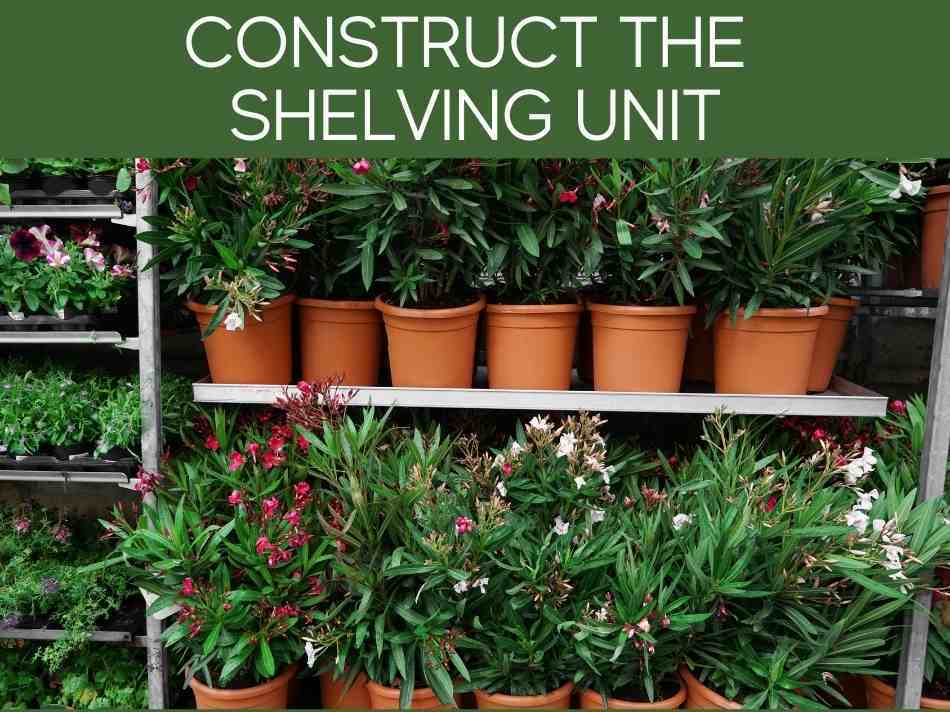
The shelving unit is one of the most crucial components of your grow light setup.
The structure is responsible for holding the entire setup—plants, pots, and lamps. With this in mind, it is critical to make it as durable as possible.
Choose a High-Quality Shelving Unit
I understand that most people will have a budget for this project.
So, as much as possible, you’ll probably want to set aside the majority of that budget purchasing high-quality lamps.
Using high-grade lights is great, but not at the expense of your shelving unit.
Don’t skimp on your options and be open to more expensive shelving units that are more durable and are guaranteed to last multiple years.
Pro Tip: If you’re looking for an option that offers great value for money, I recommend the 4-Shelf Shelving Unit by Amazon Basics.
It’s a compact unit that’s only 35.75” (91.44 cm) long, 14” (35.56 cm) wide, and 54” (137.16 cm) tall yet has a whopping 1,400-pound (635-kg) maximum weight capacity.
Follow the Instructions Faithfully
Do not skip the instructions manual. Yes, comprehending a dozen pages of tiny instructions sounds extremely tedious, but it’s essential.
You need to install the unit properly.
Otherwise, you’ll compromise its overall structural integrity and run the risk of it collapsing.
Trust me, dealing with that kind of mess is much more of a hassle than reading a manual.
Choose the Bulb Type
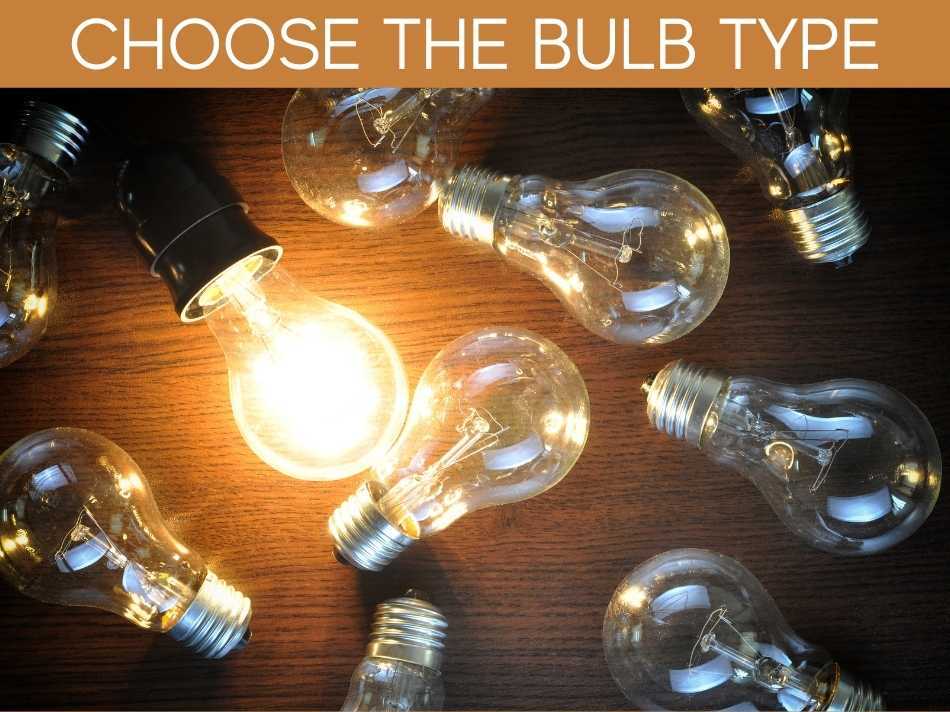
I’ll discuss the features of the three most common lighting options before revealing the best lamp for your grow light setup.
You’ll need something inexpensive but strong enough to do the job.
Incandescent Lights
Incandescent lights are by far the cheapest bulb to use for your grow lights.
Unfortunately, they’re also extremely inefficient as they require a high volume of energy to function normally, and their output and lifespan are mediocre.
There are still around 1.5 billion individual incandescent bulbs used in various American households, and many people still prefer these bulbs for their affordability.
However, I won’t suggest using them for your grow lights as there are plenty of other more cost-efficient options.
Compact Fluorescent Lights (CFL)
Compact fluorescent lights are the upgraded version of incandescent lamps.
They’re slightly more energy-efficient, last longer, and provide better usable output.
Considering the affordability of fluorescent lamps, they are an okay choice for various lighting options.
There’s nothing wrong with using them for your grow light setup, but you won’t be getting the best value for your money.
Winner: LED Lights
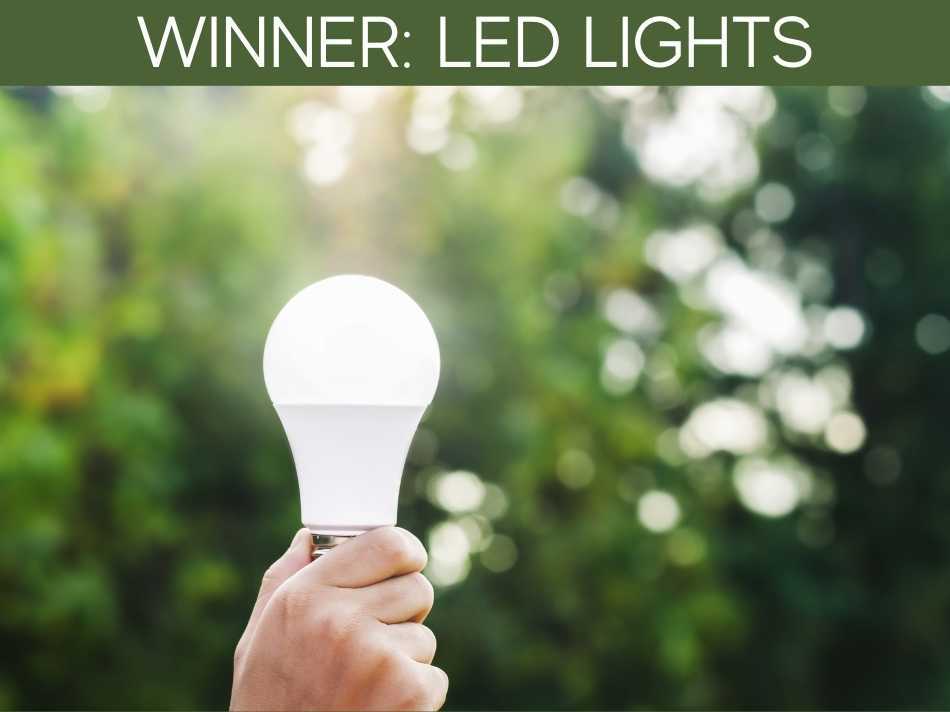
A DIY LED grow light is the superior setup for your indoor garden.
When comparing LEDs with incandescent and fluorescent lights, LED lights generate the most usable output, consume the least power, and stay lit for the longest period.
This excellent value is why many households have decided to replace their incandescent and fluorescent bulbs with more modern, eco-friendly lighting options.
Perhaps the only downside to LED lamps is they are quite expensive.
Although, a single CFL or incandescent light cannot produce sufficient output to sustain multiple plants.
Your only option would be to buy more lamps—which would ultimately cause you to have a pricier initial overhead and higher recurring utility bills.
Select the Correct Kelvin Temperature
Selecting the correct Kelvin bulbs is arguably the most crucial part of this step-by-step guide. Grow lights are all about color temperature.
The Kelvin radius needed on DIY grow lights for seedlings is different from what you need to support flowering plants.
Before we get started, the first thing you need to know is how to measure color temperature. Color temperature for grow lights ranges from a minimum of 1,000K to 10,000K.
The lowest Kelvin emits a warm red light, while the highest produces a cool blue light.
What Color Temperature Does Your Indoor Garden Need?
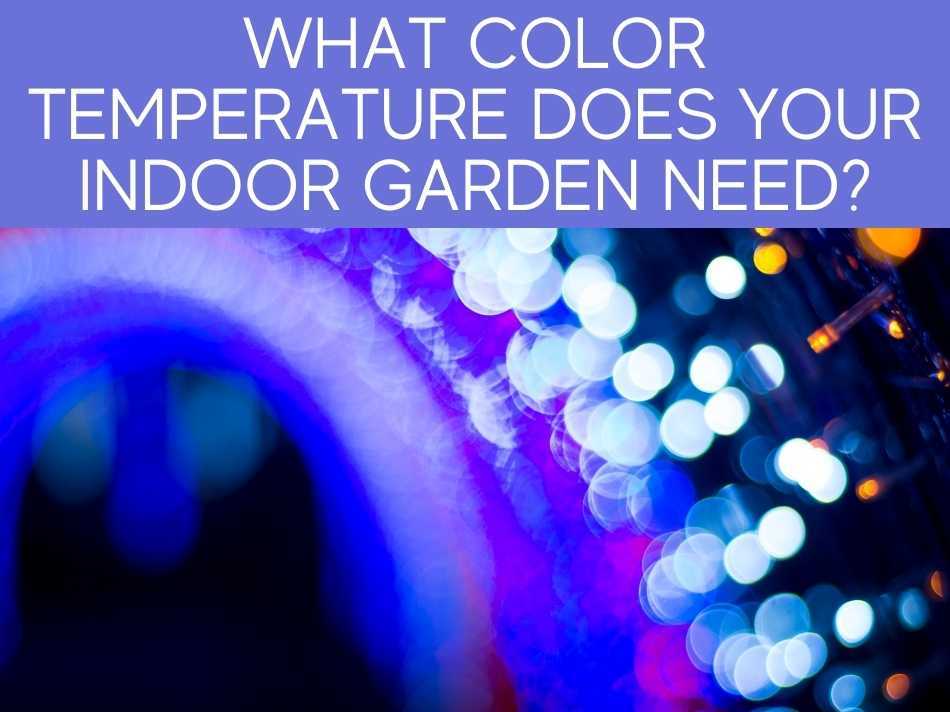
If you’re growing vegetative plants such as radishes, scallions, and various herbs, I suggest going with a cool blue LED bulb somewhere below the 10,000K mark.
Meanwhile, those growing flowering or fruit-bearing plants such as strawberries, poinsettia, or hibiscus can opt for something warmer.
A LED lamp with a 2,000K to 3,000K color temperature should be fine.
If you have a mix of both or just want to create a more balanced indoor garden, you can recreate lighting similar to natural daylight with a grow light setup of 4,000K to 5,000K bulbs.
Install the Lights
Now it’s time to set up the lights. Note that the exact process of making DIY grow lights with led strip lights versus a setup using lamps varies a bit.
Although, the end goal remains the same.
Generally, you’ll be using the hooks and cables to attach the lights to the shelving unit.
For the setup to work, the bulbs need to match the shelving unit’s width, so make sure to do the necessary measurements beforehand.
Afterward, adjust the height of the lights. In most LED grow light setups, the plants should be about 6 to 12 inches (15.24 to 30.48 cm) away from your DIY grow light reflector hood.
Placing them too far will reduce efficiency, but positioning the plants too close to the lamps is a fire hazard, so measure carefully.
Note: If you’re using an incandescent lamp—which I do not recommend—position the plants no less than 15 inches (38.1 cm) away from the lamps since they have a higher, less regulated heat signature.
See our complete article on how far away LED grow lights should be from plants.
Set Up Miscellaneous Devices and Additions
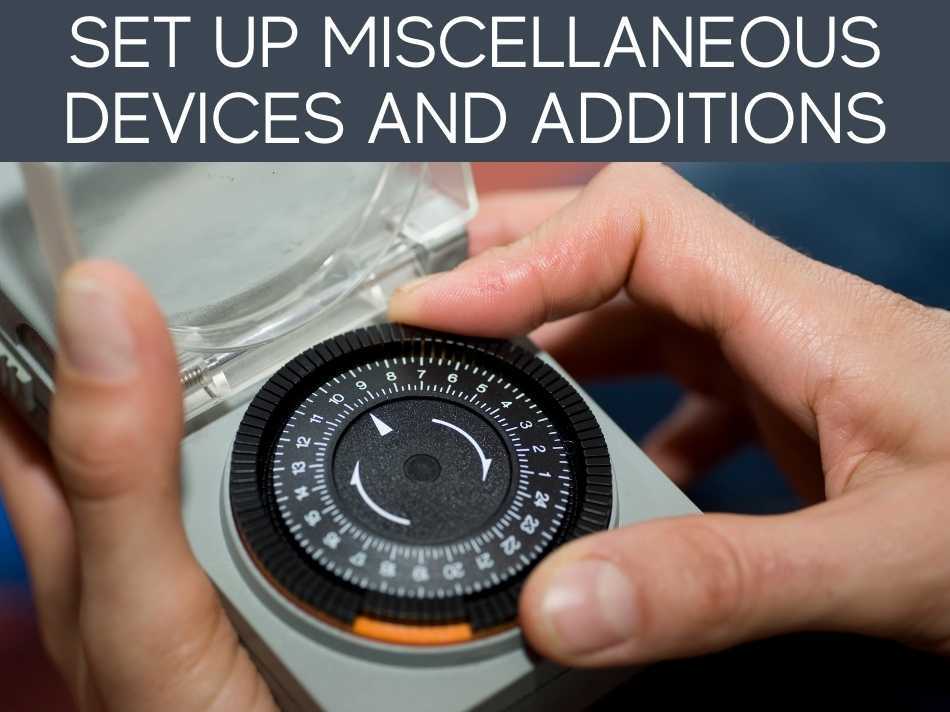
Here are some additions you can consider setting up:
Power Strip Timer
Do not leave your grow light setup running 24/7.
Not only will you be wasting a high amount of energy, but you’ll also be hampering plant growth.
Check out our complete article on how long you should leave grow lights on.
To ensure you don’t forget to switch off the lamps, install a power strip timer.
It’s a device that automatically turns the lights on and off at scheduled times of the day.
I highly suggest this Power Strip Timer by GE.
It has easy presets you can adjust to follow a daily and weekly schedule.
Also, the strip has six power outlets you can plug in multiple lamps.
Plastic Tray/Rubber Mat
A plastic tray or rubber mat is a must to prevent water, soil, and leaves from scattering all over the place.
You don’t need to spend too much on this.
A simple, cheap mat or tray would suffice, so long as it has the same width as your shelving unit.
Cable Organizers
Attach a few clips and organizers to keep the cables in place.
Not only does it look neater, but messy cables are hazardous and more prone at risk of malfunctioning.
DIY LED Grow Light
LEDs are the best grow lights because they mimic the sun’s UV rays, allowing the plants to enter photosynthesis.
This process lets them create nutrients that are vital to their longevity, color, and quality.
If you’re using artificial light sources to grow plants, always choose DIY LED grow lights by following the aforementioned step-by-step process.
How To Make DIY Grow Lights With LED Strip Lights
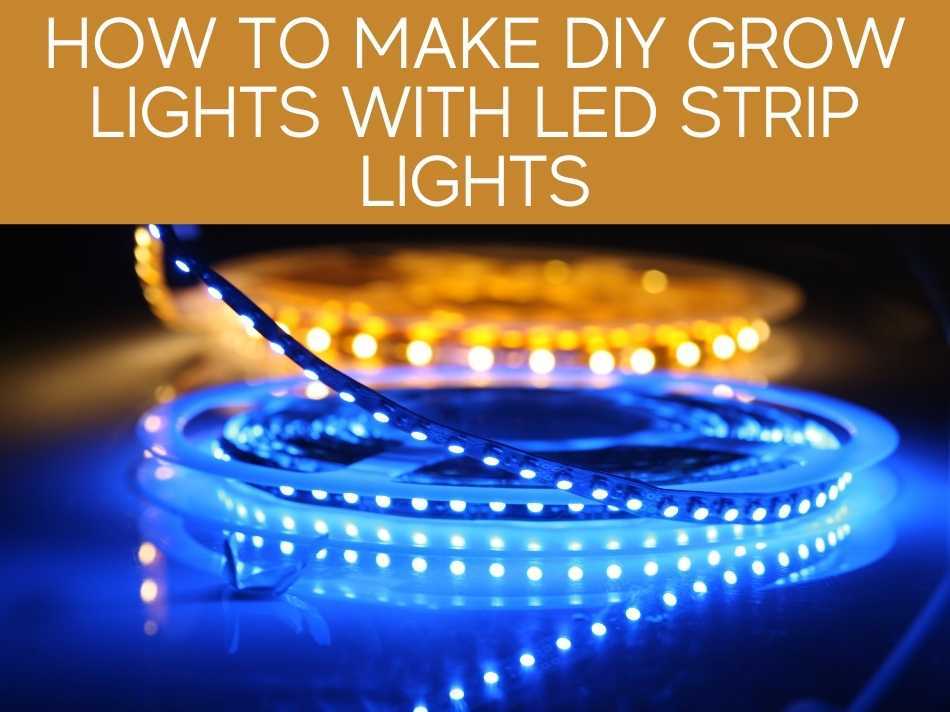
Strip lights are convenient because they’re inexpensive and laid out in the desired pattern.
You don’t have to do much work to grow plants using LED strip lights.
Here’s the process:
- Place LED lights through a PCB strip. It’s usually best to space them evenly to prevent overheating, though LEDs are known for staying relatively cool.
- Use an adhesive, such as double-sided tape, to mount the PCB strip to an aluminum bar. Place more adhesives on the back of the bar to attach it to a wall or ceiling close to the plants.
- Wire the PCB bar to an outlet to provide power to the LED lights. Make sure you have enough wattage for the LEDs. Each LED typically uses three watts per hour.
- Mount the DIY strip lights wherever you’d like to, ensuring they’re close enough to the plants.
DIY Grow Lights for Seedlings
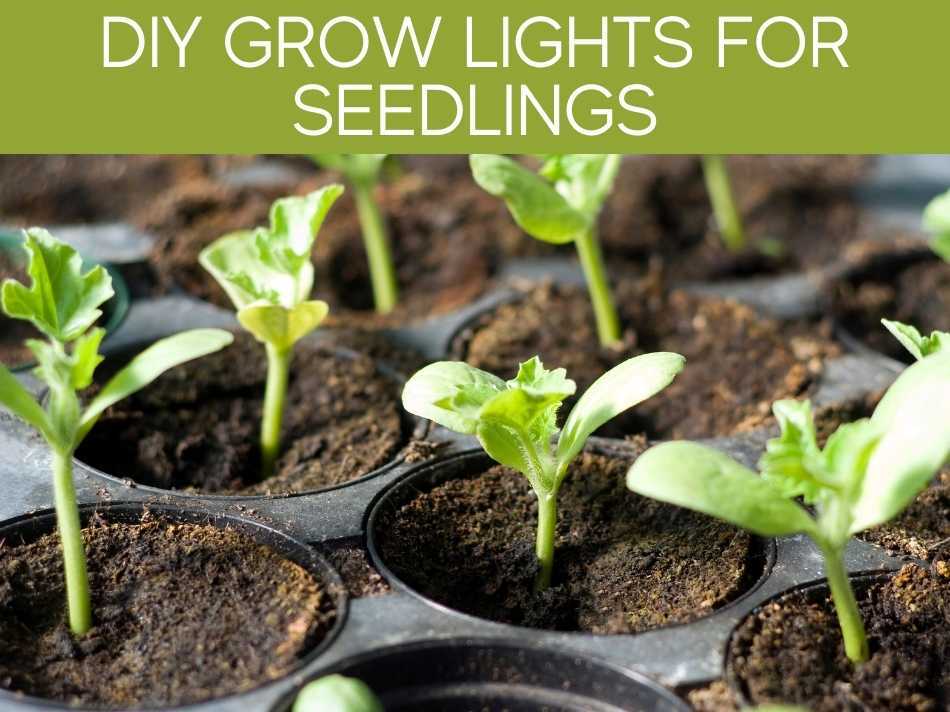
Making a DIY grow light for seedlings requires the same procedure detailed above.
Seedlings need plenty of light and water, so it’s important to keep the lights on for the required time each day.
An easy way to make DIY grow lights for seedlings is to attach LEDs on a PCB strip or connect a bar LED light to a power strip.
Both options will do enough to start photosynthesis, letting the seedlings receive the nutrients they need to thrive.
DIY Grow Light Reflector Hood
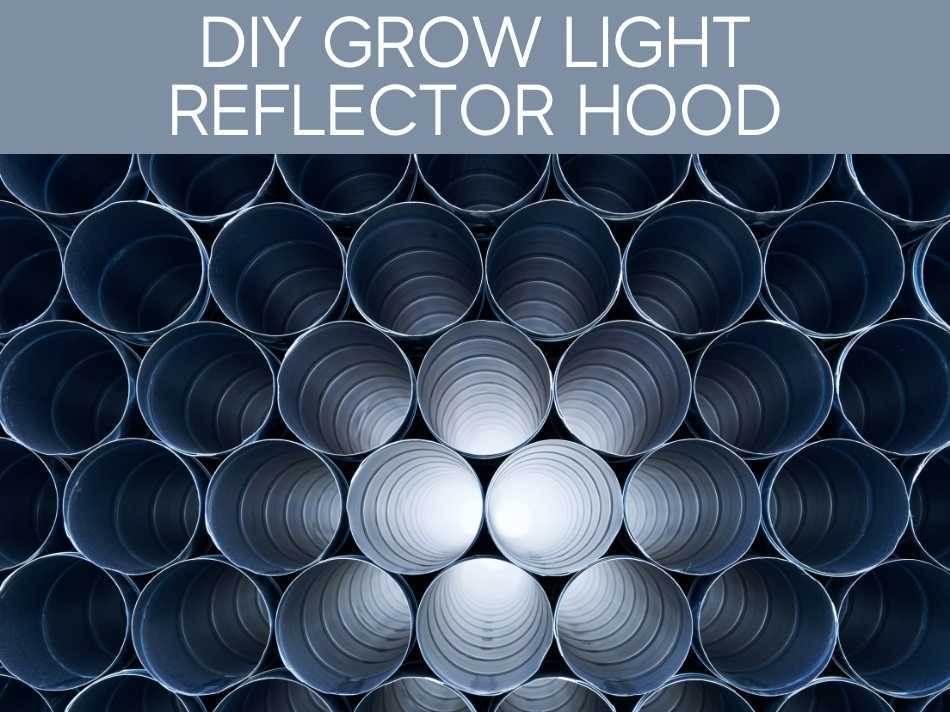
Light reflector hoods can double or triple the amount of light absorbed by your plants and seedlings.
Here’s how to make a DIY grow light reflector hood at home:
- Open a metal duct to the desired shape. Bigger ducts will reflect more light, but anything too big becomes a nuisance.
- Drill a metal rod through both sides of the rounded top and bottom of the duct. It should look like a half-circle with two rods; one at the top and bottom.
- Drill a hole in the center of the half-circle duct and slide a double-sided light fixture through it. You can insert the bulbs when you’re done. The wires should come out the top of the duct.
- Wire the double-sided light fixture to an extension cord using crimps and butt splices. You can also solder them together.
Final Thoughts
To recap, here are some essential tips for creating an efficient grow light setup:
- Install bulbs/lights that emit an array of color spectrums
- Do not just use a white light/lamp
- Keep the grow light hovering around 24 inches away from the plants
- Choose a sturdy, durable rack that can carry multiple pots, trays, and lamps
Bear in mind that this is simply a general guide on how to build your own grow light.
Use this as a reference, but don’t be afraid to modify your setup. It should suit the specific needs of your plants.