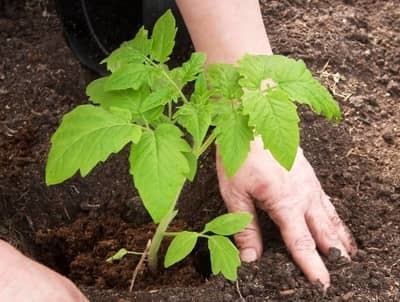
Choosing the best type of soil for tomatoes to grow is one of the single most important things you can do if you’re interested in growing these plants. As a teen, my very first gardening attempt was cherry tomatoes — two bushy plants that flanked the door to my parents’ shed. That August, I was rewarded by a delicious and bountiful harvest, and from that point on I was hooked. Fresh tomatoes are worth getting the soil right!
The best soil type for tomatoes is loam or sandy soil that’s slightly acidic. Tomatoes grow in almost any soil except heavy clay. To improve clay soil for tomatoes, add sand and organic matter like peat moss or compost. Tomatoes prefer nutrient-rich soil.
And, as every gardener knows, soil is a lot more than just dirt.
I used to work in a soil testing lab, and the soil scientists bristled when they heard anyone call soil “dirt.” Dirt is dirty. Soil is a mix of sand, silt, clay, organic matter, and a living microbial community.
So remember: soil ain’t dirt.
There are actually several different factors you should consider before deciding which soil is best for the tomatoes you are trying to grow.
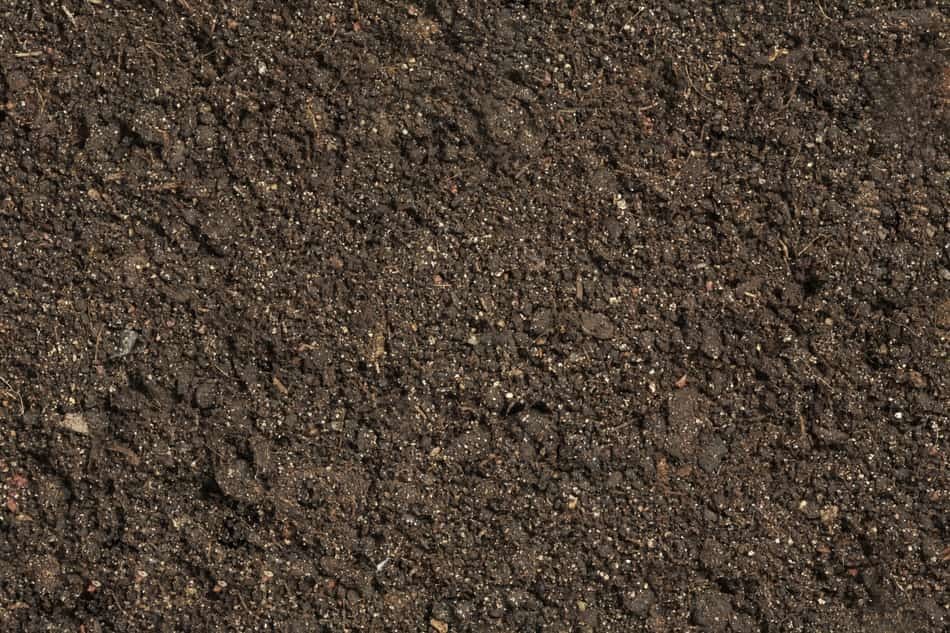
Different soil types
Now, before we begin, let’s briefly go over the different types of soil out there:
Sandy:
This type of soil is light, dry, and low in nutrients. Sandy soil is quick to warm up and has easy water drainage. But on the flip side, it also dries out quickly and nutrients are easily washed away.
Sandy soil also tends to be acidic.
You’re probably already familiar with this soil type — you know what sand looks and feels like!
Clay:
This soil is heavy, and is either wet and cold in winter, or baked dry in the hot summer sun. These soils take awhile to warm up, and although they hold a lot of water and nutrients, they also get dried and hard, making this type of soil challenging for gardeners.
You probably have an image come to mind when you think of clay — reddish, slick when wet, or dry and cracked.
Tomatoes are not happy in soil that is high in clay, and you’ll need to add sand, saw dust, peat moss, or compost if that’s the case.
Silt:
Silt soil is light and fertile. The soil is made up of small particles, making it fairly well drained while also being able to hold moisture.
A problem with silt soil is that the light, separate particles can be easily washed away in the rain.
Loam:
Loam soil is a fertile mix of sand, silt and clay, plus some organic matter. Depending on what the soil has more of, it can be classified as “sandy loam” or “clay loam.” Because there are three different basic soil types in the mix, they balance each other out and curb the downfalls of each soil type.
Chalky:
Now, unlike some of the other soils, chalky soil can’t be identified on its weight, as it can be either heavy or light. The key characteristic is that it has high amounts of calcium carbonate or lime, giving it a whitish gray color and making it very alkaline (the opposite of acidic).
If there’s actual lumps of white, gardeners may just have to accept the fact that they’ve got alkaline soil, and choose plants that can thrive in alkaline soil–tomatoes aren’t one of them.
Peat:
Peat is gardening gold. It’s that dark soil rich in organic matter that you buy in bags from the garden center. It’s super fertile and can hold a lot of moisture.
3 ways to tell what kind of soil you have
There are a few simple ways you can figure out what kind of soil you have.
Option 1:
Your first option is to simply get a bit of soil that is damp, not sopping wet, in your hands. Rub it around in your fingers and pay attention to what it feels like. If it feels gritty, it’s sandy. If it’s slick, then it’s likely a higher percentage of clay.
Option 2:
Another test you can do is to rub some damp soil (again, not sopping wet!) between your palms to make a ribbon. Remember making snakes with Play-Doh as a kid? That’s the idea! If you can make a ribbon and hold it vertically without it breaking — like those Play-Doh snakes — you’ve got clay in your soil.
If you can make a ribbon but it breaks when you try to let it dangle, you have 25-50% clay in your soil. Now, if you CAN’T get it to stick to a ribbon shape at all, you have sandy soil.
Option 3:
A third option takes more time but will give you a great visual of your soil composition. Collect a bit of soil from different parts of your garden and lay it out to dry. Remove any sticks or stones — anything that’s not actually dirt! Grind it up using a mortar, and put a one inch layer in a glass jar. Fill the jar two thirds full with water, add a pinch of salt, and shake it up.
Over the next few hours, you will see the sand settle to the bottom, followed by a layer of silt. Clay will settle more slowly.
Knowing that you started with an inch of soil, it will be pretty simple to figure out your soil percentages from here. If you have a quarter of an inch of sand, you have 25% sandy soil. If the next layer, silt, is half an inch, you’ve got 50% silt in your soil. Finally, that last 25% would be clay.
Testing your soil
Once you know the general type of soil you have, another factor to consider is the acidity of your soil. Tomatoes grow best in soil that is slightly acidic.
On the pH scale, pH levels of 0-6 are acidic, with the lower the number being the more acidic.
- pH level of 5 is the level of coffee or beer, for example, while a pH level of 2 would be in the same category as gastric acid.
- A pH level of 7 is neutral, and as you move up the scale you get more and more alkaline.
- Going up the scale, a pH level of 10 would be the range of hand soap, while bleach would have a pH level of 13.
One way to test your soil pH is to buy a soil testing kit from a garden center and follow the instructions.
A quick DIY soil pH test
If you’re the DIY type (so many gardeners are, let’s be real), a simple test you can do only requires soil, water, baking soda and vinegar.
Collect 1 cup of soil from different areas of the garden. Give it a quick stir. Get two containers and put two spoonfuls of soil in each container.
In one container, add half a cup of vinegar to the soil. If the soil fizzes, the pH level is likely between 7 and 8, and you know you’ve got alkaline soil.
If nothing happens, set that container aside and turn to the second container of soil. Add enough distilled water to get the soil in the container muddy. Add half a cup of baking soda. If the soil fizzes, you’ve got acidic soil, likely with a pH level between 5 and 6.
No reaction to either test? You’ve got neutral soil, sitting around a pH of 7.
Okay, so now you know your soil acidity.
Tomatoes, like most vegetables, are happiest in soil that is slightly acidic — between 6 and 6.8 on the pH scale. Why? Because in that pH range, you’ll have the greatest availability of the kinds of nutrients they need.
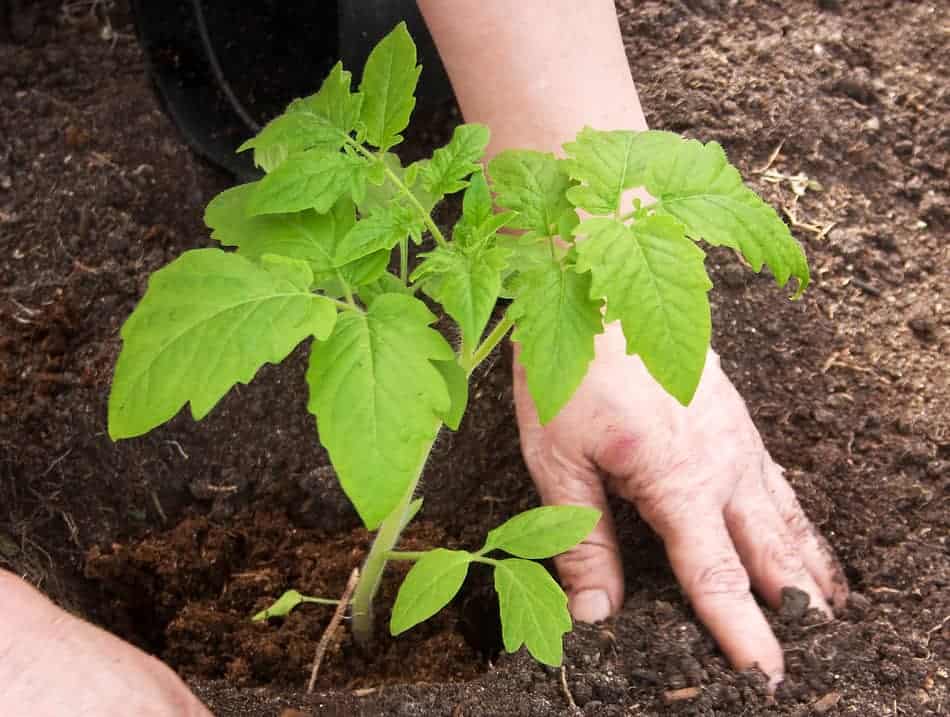
Adjusting soil pH
If your soil isn’t in that 6 – 6.8 pH range, there are plenty of ways to adjust.
Lowering acidity
If you have too much acid in your soil, the best thing to do is to add a little bit of lime to the soil. Lime can be purchased at any hardware store in 25-kilogram bags at a very cheap price of 10 to $20. And that’ll be enough lime to do most of your garden.
Be careful to read & follow the instructions to applying lime to your soil–you don’t want to add too much.
Raising acidity
If you have soil that has a high pH or what we call alkaline, add sulfur to your soil instead of lime. Again, garden stores will have elemental sulfur.
Read & follow the instructions for incorporating the sulfur into your soil so you don’t add too much.
Drainage
Tomato plants thrive in soil that holds moisture, but the soil also needs to drain well.
What is well-draining soil?
It’s soil that holds some water but doesn’t stay mushy. Typically, well-drained soil has a moderate proportion of sand. Soils that are high in clay usually are NOT well-draining, and get soggy & mushy, holding on to the water long after a rain or a watering.
Why is well-draining soil preferred?
If soil doesn’t drain well, plant roots just sit in water and they can actually rot. Technically, the plant drowns, since the roots can’t get oxygen when they’re waterlogged.
This is why tomatoes don’t do well in clay soil — it’s just too heavy for fine roots, and it doesn’t drain well enough.
An easy way to test if you have well-draining soil
To tell how well your soil drains, dig a hole about 12 inches wide and 12-18 inches deep. Fill it with water and let it drain. Fill it with water again, and check on it over the next few hours. In well-drained soil, the water level should be steadily dropping by at least an inch every hour.
How to improve soil drainage
OK, so, let’s say you did the drainage test and you find out … oh no! your soil isn’t stellar in the drainage department.
To improve drainage, add organic matter. (You could add sand, but since we’re talking about tomatoes, organic matter is usually preferred for improving drainage).
Organic Matter
Why organic matter?
Tomatoes are really big eaters. They need a very nutrient-rich soil.
What is organic matter?
Organic matter is anything that comes from nature — almost any plant-based or animal by-product.
If you’re a nerd like me, you might remember back in chemistry class all the confusion about organic chemistry or maybe something about a benzene ring. Basically, organic matter (in soil-speak) is carbon-based. And carbon-based stuff is made from living stuff (either alive or dead).
Because it comes from nature, nature knows what to do with it. Earthworms break it down and make the nutrients stored up in, say, a dead leaf or a banana peel, available to your plants to help them grow.
Organic matter supplies the nutrients that will keep your tomato plants happy. Organic matter also helps improve drainage.
How to add organic matter to soil
You really can’t go overboard with this. Dig deep, and work in as much compost or manure as possible.
To add organic matter, start with the stuff that just happens in your backyard naturally, especially if you live in a four-season climate. Save all of those leaves that you rake up in the fall. Put them into a composter, let them sit through the winter and come the spring you’ll be ready to add them to your soil.
Don’t forget to save your grass clippings when you mow your lawn. If you have a side bag on your lawn mower, throw the grass cuttings into the composter as well. That’s all material you can use to remediate your soil and grow better tomatoes.
What the Italians taught me about growing tomatoes
When I was still relatively new to growing vegetables, I had a small garden plot in the yard of the house we were renting at the time. Across the street, there was an elderly Italian couple who seemed to know how to get the maximum amount of vegetables in the small strip of gardening space they had.
I have to admit, as my tomatoes struggled to eke out an existence, I was jealous of the full, productive plants across the street and the gorgeous red tomatoes they were yielding.
My old Italian neighbors took some time to teach me a few things.
One of the biggest tips? Poop.
They had a connection with a local farmer; they gave him their household compost, and he gave them manure.
The result: enough to tomatoes to keep that Italian kitchen cooking.
It’s hard to overstate the value of animal poop and growing crops. Animal excrement has been used as a fertilizer since time immemorial.
Manure should first be composted (in other words, broken down & processed by microorganisms), then added to the soil in the spring just before planting.
Fresh manure can be added to your soil in the fall and the high nitrogen component will be balanced out by naturally composting the manure through the winter.
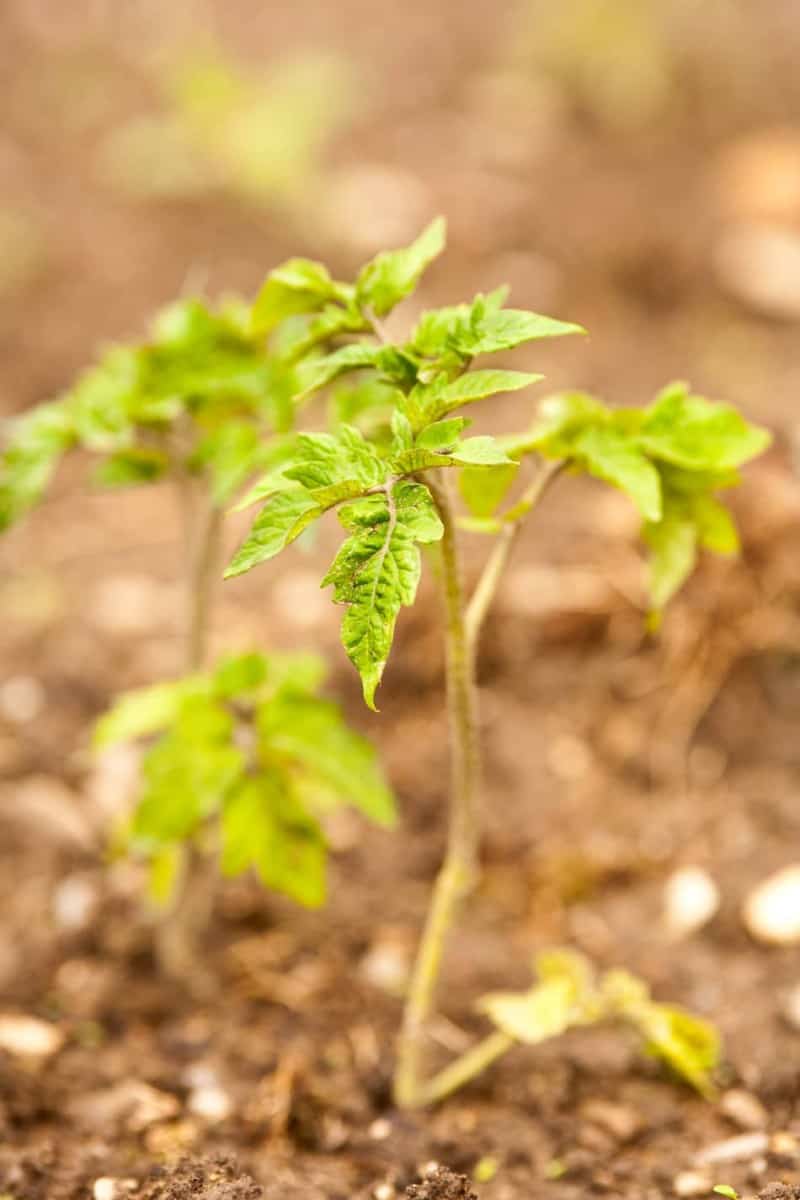
Which type of tomato?
There are literally thousands of different types of tomatoes. It’s one of the reasons they’re so popular! They come in all kinds of colors, shapes and sizes.
A few basic categories are:
Heirloom vs Hybrid:
These two categories apply to more than just tomatoes. Heirloom refers to seeds that have been saved over generations, the old-fashioned way. Hybrid refers to seeds that have been cross-pollinated between strains, giving the plants that grow from the seeds specific qualities.
If you want unique varieties, old-fashioned flavor, and the ability to keep your own seeds, choose heirloom. If disease resistance and productivity are important, hybrid might be a better choice.
Determinate vs Indeterminate.
Determinate plants come to a natural end — they flower, produce fruit, and then they’re done. They grow in a bush shape and produce a harvest for a few weeks.
Indeterminate plants continue to produce fruit until the first frost puts a stop to them.
Think about what you want to use your tomatoes for, and look up which types might be best for you.
Large juicy slices for burgers? Maybe a large beefsteak tomato is what you’re after.
Making sauce? Perhaps pulpy Roma tomatoes will be best.
And, let’s be honest, is there anything better than popping a sun-warmed cherry tomato into your mouth, fresh from the garden?
Once you start browsing, you’ll probably want to grow more than one type! That is a good idea. It makes gardening more interesting and fun, meets a few different needs for your table, and you can learn which types had the best production for you.
Choose tomato varieties that match your climate
Next, you have to think about what is best for your zone and climate.
If you have a short growing season, look for tomato types that produce early. You may have to buy the plants or start the seeds indoors well ahead of time.
If you’re in a southern growing zone, you’ve got a longer growing season. In that case, you don’t have to be as picky, and you might not decide to start tomato seeds indoors during winter.
But let’s be real–don’t we all like to get an early a start on our garden in spring?
Where to grow
Tomatoes need a lot of sun, so you need to select a sunny spot for them.
When it comes to what to grow them in, you have a few options:
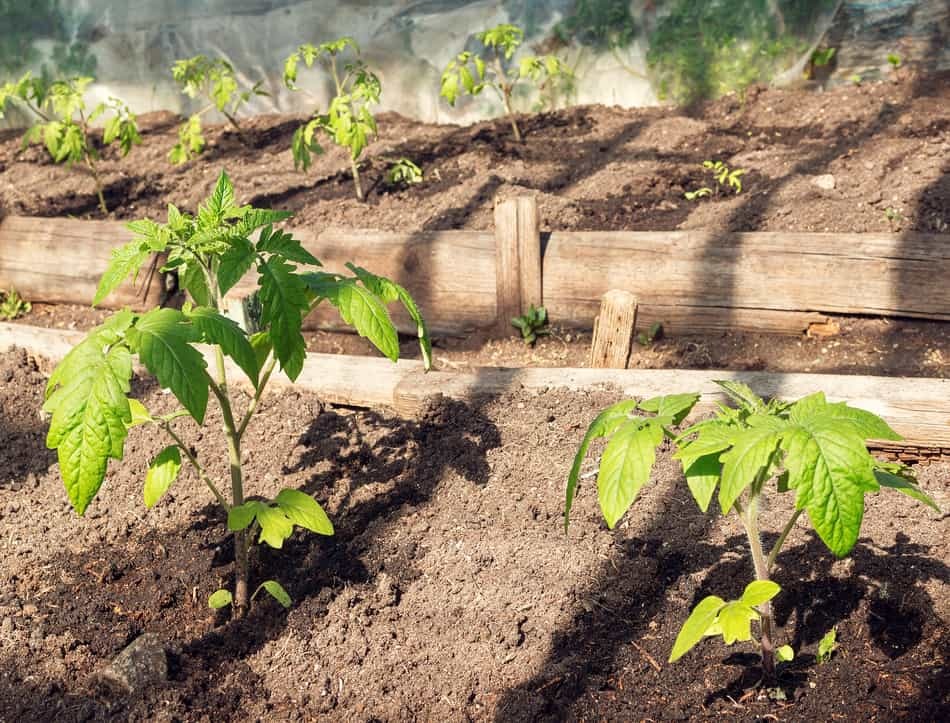
Raised boxes:
A great feature to these is that it’s easier to control your soil. You can add a lot of nutrient rich organic matter, which tomatoes love, and you can ensure that your soil is draining well.
If you have a high water table in your area, your soil isn’t going to be draining well, and adding height in the form of a raised bed may be necessary.
Ground:
This is less work to start with, if you already have a nice large garden bed ready to go. Make sure you work a lot of organic matter into the soil and that it drains well.
In the ground, you have lots of room to grow your tomatoes, and a plus side to growing in the ground is that stakes, if needed, may be more easily secured, as soil is not as loose as it would be in a raised box.
Greenhouse:
Maximize that growing season! Maximize that sunlight! A greenhouse can add months to your harvest.
Time and effort
How to prepare tomato beds
If you’re preparing a tomato bed in the ground, make sure you’ve chosen a sunny spot with well-drained soil. (I know, you know that by now, but I have to say it again!) Add in your organic matter, compost or fertilizer at least two weeks before planting.
If really want to get a head start, add in the extra nutrients in the fall, cover it in mulch, and leave it until the next spring.
When preparing your tomato bed, think about how many tomatoes you want and plan on about two square feet for each plant.
How to build a small tomato hothouse
You can protect your tomatoes from the cold by building a simple “hothouse cage” around them.
To do this, get a large container, like a milk jug, that can hold water. If it’s not already dark in color, paint it black so that it will absorb more heat from the sun–that way, it’ll absorb more heat.
Fill the container with water, seal it, and set it beside your tomato plant. This water will act as a temperature regulator — heating up during the day and releasing heat during the night.
Next, set a stake securely around your tomato plant. Take plastic wrap and wrap both the stake and the container (sitting beside your plant) in layers of plastic wrap. Once the entire thing has been wrapped, you need to find a suitable lid.
This lid needs cover the whole space at the top of the wrapped stake (which is looking like a vertical plastic wrap tunnel). If it doesn’t lie flat and cover the entire space, the heat (which rises) is simply going to escape. A flat board, plate or tray may work — anything heavy enough that it won’t be blown away by the wind.
When the days get hot, it’s very important to remove the lid! You don’t want to bake your tomato. In the late afternoon, put the lid on to seal in the heat and keep your tomatoes cozy warm all night long.
Time to maturity
Okay, now that you’ve done all this work, when can you start enjoying your fresh tomatoes?
As with everything, it depends.
Early-season tomatoes generally need 50-60 days from transplant to harvest, mid-season tomatoes require 60-80 days, and late-season tomatoes need more than 80 days.
Other factors, like your specific climate and specific season you’re having this year, will affect this timeline.
Related Questions
What are the best soil amendments for tomatoes?
The best soil amendments to add to your soil for tomatoes are compost, manure and/or dry timed release fertilizer. Adding compost and manure will attract earthworms, which help make the nutrients accessible to your tomato plants.
What is the best manure for tomatoes?
Chicken manure is ideal, horse manure is a close second, and both are preferable to cow manure. The best manure for tomatoes needs to be high in nitrogen; cow manure tends to have lower nitrogen. Horse manure may contain lots of weed seeds–which means you’ll probably have more weeding to do once those seeds sprout.
What is the best natural fertilizer for tomatoes?
The best natural fertilizer for tomatoes is organic cottonseed meal. It can be mixed into the soil at the time of planting, and its nitrogen content helps support tomato plant growth.
How big do containers need to be for tomatoes?
Err on the side of extra space. You need at least one square foot to two square feet per plant. Five gallon buckets are great for one plant. Whiskey barrels (cut in half) are also a great option.
Now go get your hands dirty!
Hopefully by now you have a much better understanding of what tomatoes need to thrive and what soil is best for tomatoes. Tomatoes are big eaters, so soil is very important. Take the time to get it right, and the juicy, garden-fresh flavor will be worth it!

