Besides gardening, I’m also a woodworker, so when I started planning my raised beds, I looked into what kinds of wood to use. And while you could use oak, teak, or other hardwoods, pine offers some strong benefits that make it good for raised beds.
Pine is a common wood for raised beds, since it’s easy to work, and can be purchased for roughly 60 cents per foot vs. $4.00 per foot for cedar. However, pine is less resistant to rot, compared to other woods like douglas fir, cedar, and oak.
Pine has become popular for several reasons, mainly cost and availability. Pine is generally inexpensive, especially when compared to cedar and oak. Costs vary, but on average, a pine board will cost about 60 cents per foot, as compared to about $4.00 per foot for a cedar board.
Pine is also easy to find and customize by size. You can easily find pine boards at any hardware store or a lumber yard.
The disclaimer here is that pine is not rot-resistant. You’ll likely have to replace it after about five years, depending on your climate. That said, if you treat your pine with raw linseed oil, it’ll last longer.
Let’s dig into all the details so you can decide for yourself.
Is pine okay for raised beds?
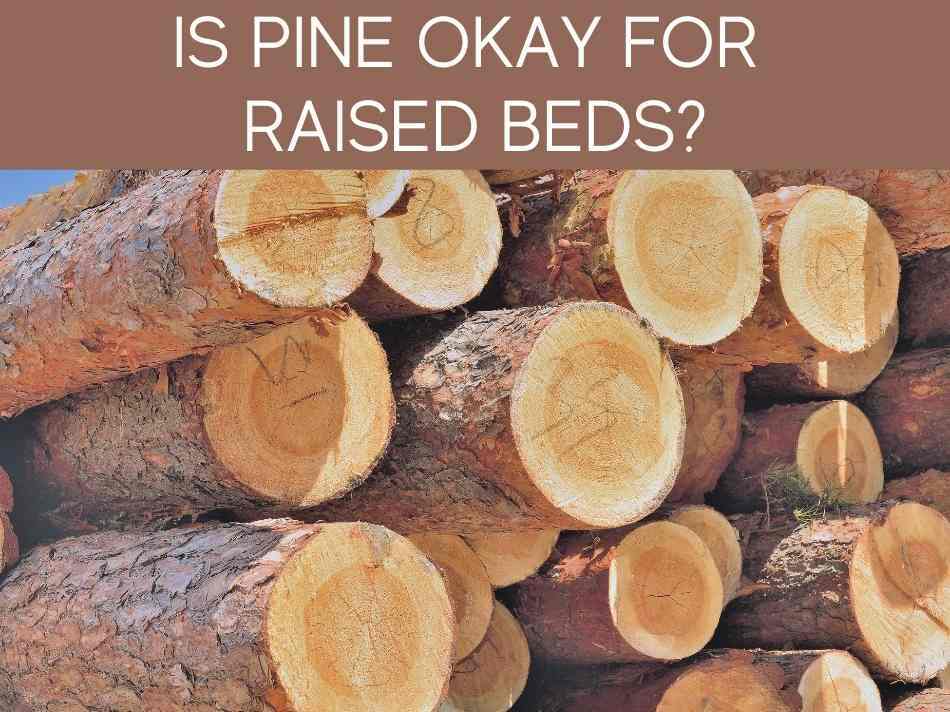
Pine is not as common a material for raised beds, so people often ask us if pine is an okay material for raised beds. The short answer is yes! Pine is becoming more popular for gardeners for several reasons, which I’ve detailed below.
Pine isn’t inherently rot-resistant, so you’ll need to replace it over time, but for many gardeners, the benefits of using pine outweigh this potential drawback.
Benefits of pine for raised beds
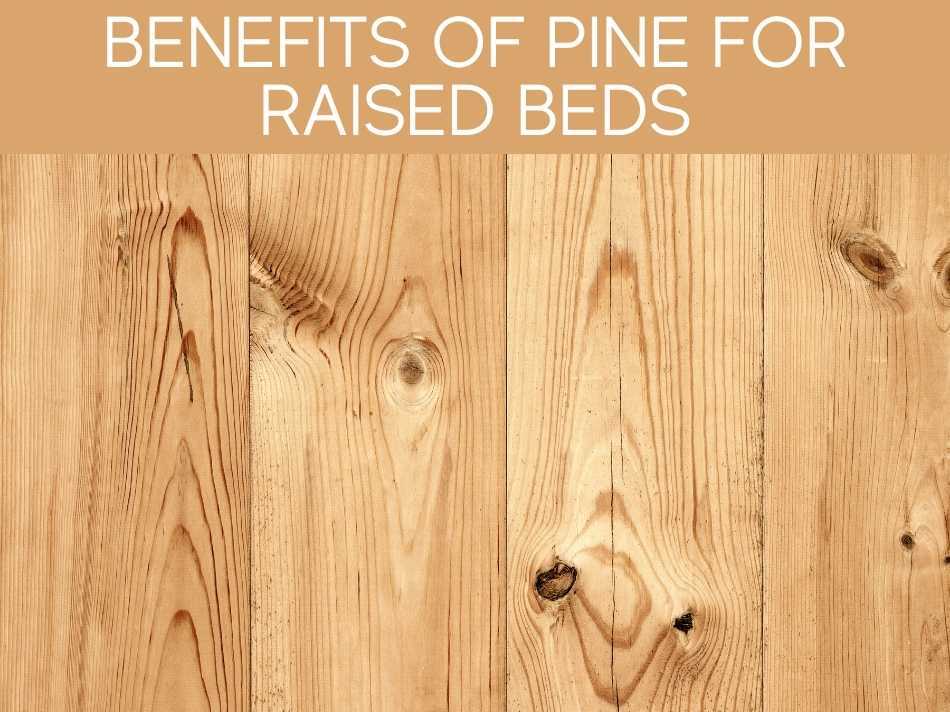
I’ve mentioned several benefits of pine as a raised bed material. It’s great to be thinking about the benefits and drawbacks of various materials. That way, you’ll have done your research, so you’ll end up happier with your decision. Plus, you’ll understand what you’ll need to do to maintain your raised beds based on the material you’ve chosen.
Cost

The benefit our gardeners who prefer pine point to most is cost. Pine is very inexpensive, especially when compared to other common raised bed materials such as cedar and oak. You can often find it for free at a lumber yard or potentially from neighbors or friends who have extra. Pine is such a common construction material that gardeners can often grab leftover pine boards.
Even if you don’t have access to free pine boards, lumber yards and hardware stores sell them inexpensively, and the employees there can help you cut the boards to match the size you need for your raised bed.
Availability
One of the reasons pine is so inexpensive is that there’s a lot of it out there. Pine is one of the most common trees in the United States, so you won’t have trouble finding it, which isn’t necessarily true of cedar and oak. No need to worry about running around to multiple stores looking for pine.
Easy to work with
Another benefit of pine is that it is flexible and easy to cut, which makes it the perfect material for a no-fuss project. It’s relatively durable but just tends to be more pliable than other wood varieties. If you’re a new gardener or just not totally comfortable with DIY projects, pine is a great option. And even if you’re a seasoned expert, the ease of working with pine may appeal to you too!
Many varieties
There are many types of pine trees, so this means you can find boards made from different types of pine. You can select the type of pine you want to use based on the color and texture, which means you have the opportunity to personalize your raised beds and find something unique.
Drawbacks of pine for raised beds
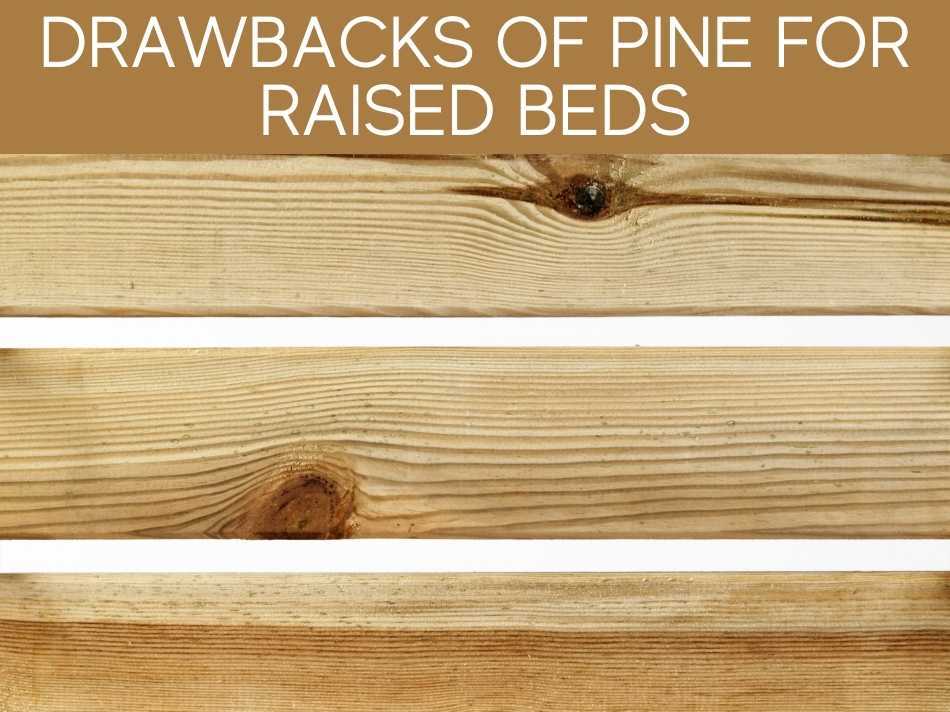
No material is perfect, and it’s important to understand the drawbacks of whatever material you use. Pine has its issues that you’ll want to consider as you’re choosing what you’ll use to build your raised beds.
Lack of rot resistance
As I mentioned earlier in the post, pine is not rot-resistant. This is the main drawback and the primary reason people may choose a more durable material.
We’ll discuss this more at length later, but coating your boards with raw linseed oil can help them last longer and protect them from potential weather and insect damage.
Will need replacement
Because pine is not rot-resistant, you will need to replace it more often than you would a more expensive material. On average, you’d need to replace your pine boards every 3 – 5 years. Of course, this depends on the climate where you live and also the insect population, so you may find that you’d need to replace the boards more or less often.
Weathering
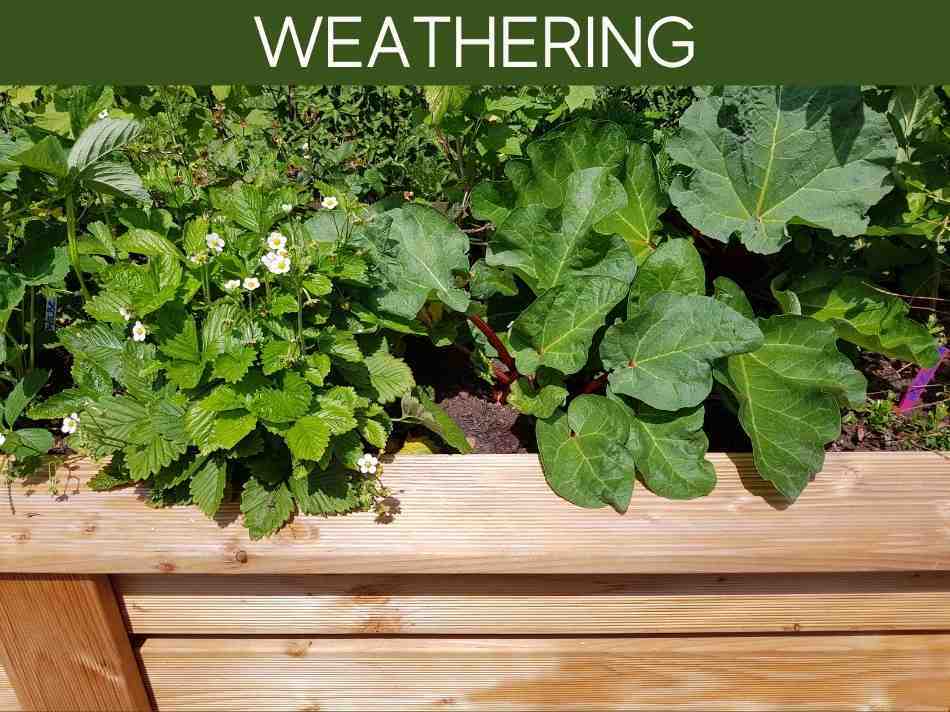
If you decide to use untreated pine (more on this below), your boards may start to look weathered more quickly than you’d expect. This doesn’t mean they’re rotting or in need of replacing, but they do show their age relatively quickly. Some gardeners actually prefer this weathered look, so it’s more a matter of personal preference.
Using untreated pine for raised beds
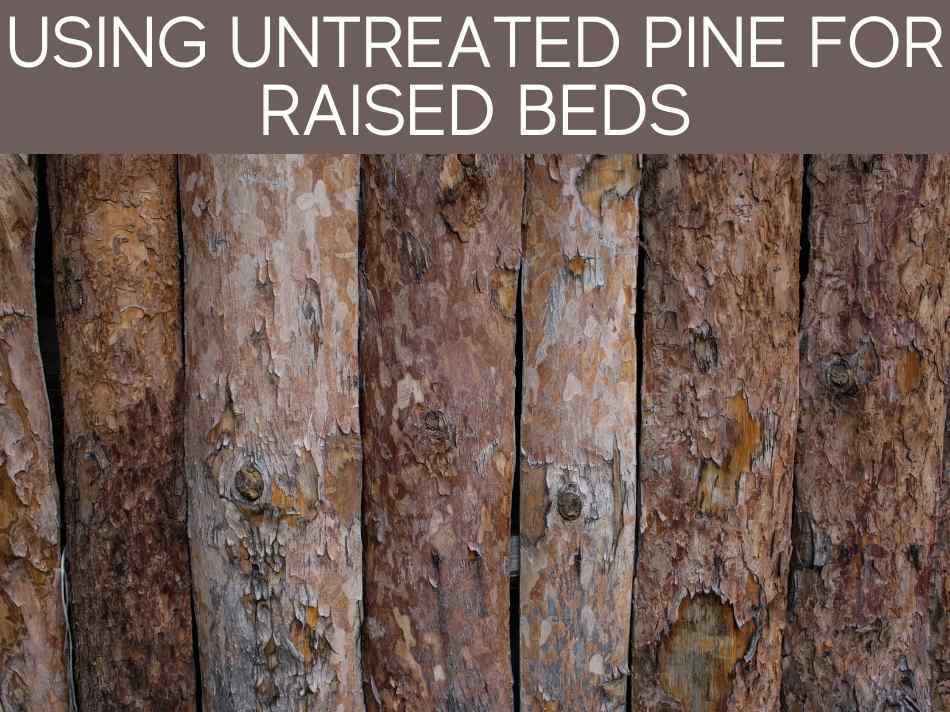
If you do choose to use pine, you’ll need to think about whether you’ll use treated or untreated pine for your beds.
Gardeners overwhelmingly recommend using untreated pine. The chemicals used in treatments often have negative health effects, both for your plants and for you.
Maybe you’re thinking about using pressure-treated wood or plywood for raised garden beds. If so, you’ll definitely want to read the full articles below for info on the potentially toxic chemicals in those woods:
Some brands have created “clean” treatment options, but there isn’t enough evidence that these treatments won’t be harmful, and they also may not work as well in protecting your boards as traditional treatments do.
Especially if you’re growing produce, you’ll likely want to use untreated pine. That way, there won’t be chemicals leaching into the fruits and veggies that you grow.
So, what can you do to make your untreated pine boards last a little longer?
Both raw linseed oil and tung oil are great natural options that can act as treatments without any chemicals seeping into your soil. They won’t make your boards last quite as long as a chemical treatment would, but either of these options should extend the life of your pine.
Treated pine versus untreated
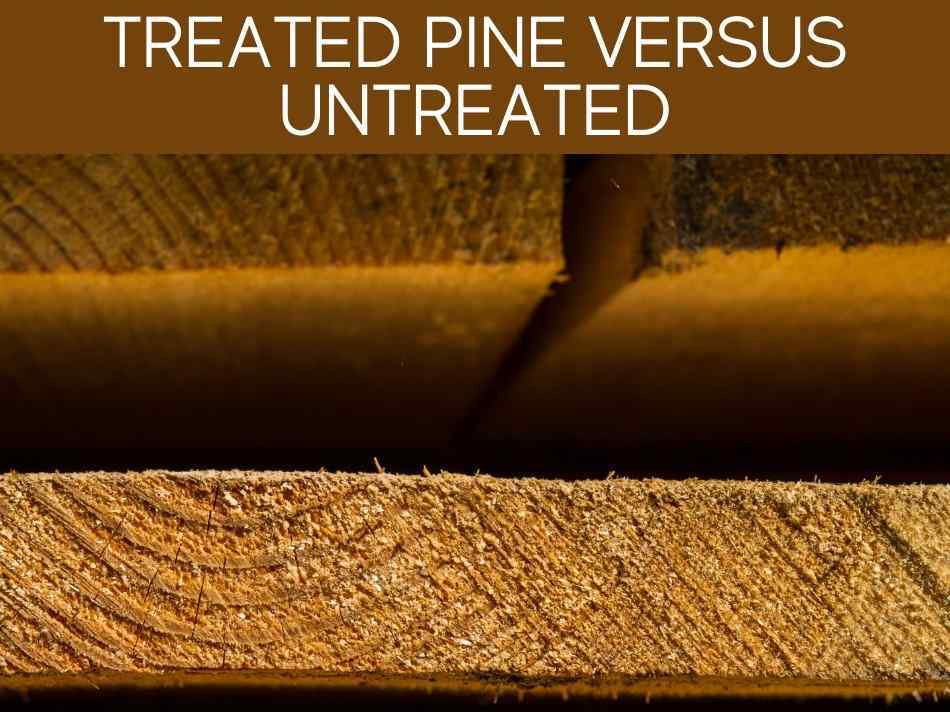
As you may have guessed, we’re on team Untreated Pine in most scenarios. However, we can’t overlook the fact that treating your pine means you’d have to replace them far less frequently. So let’s discuss, shall we?
Treating your pine may protect against rotting, which is the number one reason gardeners have to replace their pine.
However, the chemicals from the treatment seep into the soil and can affect your plants’ growth and their ability to be safely consumed if you’re growing produce.
This is a dilemma for many gardeners who just can’t see themselves replacing their pine boards as often as necessary with untreated pine.
Luckily, there’s a solution. If you decide you’d rather use treated pine, we recommend putting plastic sheeting down between your boards and the soil. This will significantly reduce the chemicals’ ability to seep into your soil and can protect your plants.
Getting started
If you decide that pine is the right material for you, it’s time to get started preparing to build your raised beds.
The first step is to decide on the location and size of your beds. This will determine how much pine you’ll need and later how much you’ll grow. When it comes to size, it’s generally best for your beds be small enough that you can reach the middle of the bed without having to actually step inside it.
In terms of location, it’s always important to think about sunlight availability and watering.
To determine size and location, think about what you want to grow. If you don’t already have ideas set in stone, the easiest place to start is by considering the weather and the types of plants and produce that thrive in your area.
If possible, native plant species are great to incorporate! Also, if you have a location for your beds in mind, you can look at plants that will grow best in the amount of sunlight that location offers.
Preparing the area
After you’ve determined your bed size and location, you’ll want to prepare the area you’ve chosen. The first step is to remove any existing grass or weeds or other obstacles. Having a clear area where nothing is growing will give your new plants the best chance to thrive.
Then, you’ll want to level the area. This will help your plants grow and will also help with water distribution. A flat surface ensures that your plants are getting equal amounts of water and just makes the growth process easier because roots are growing straight up instead of at an angle.
The area preparation is probably the most time-consuming part of this whole endeavor, but if you can get some extra hands to help out, you’ll be done in no time!
Building your bed
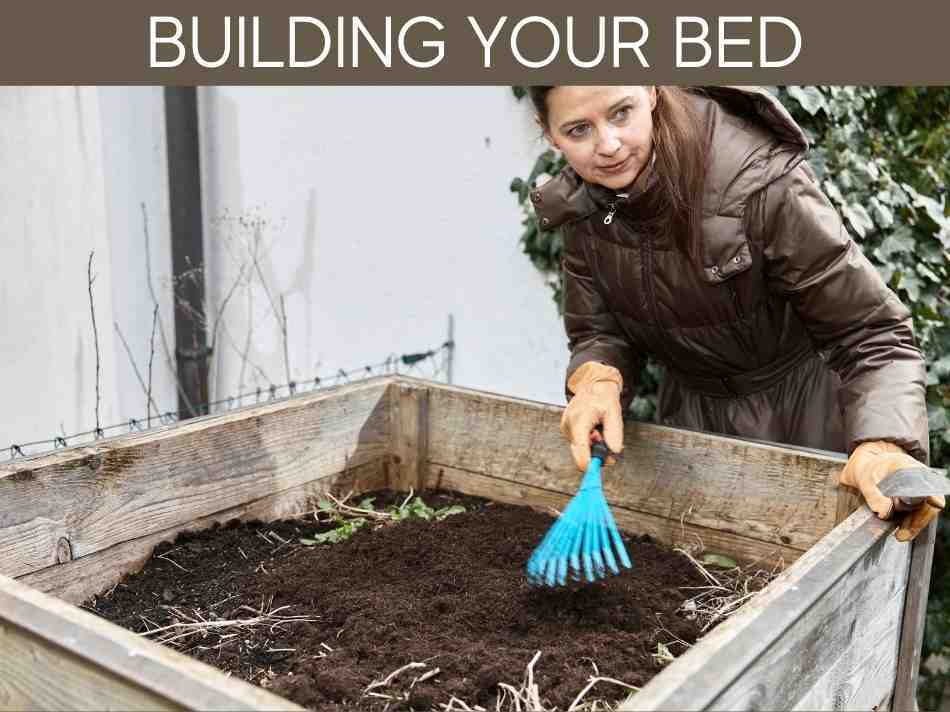
After all of that, it’s finally time to build your beds. The two materials you’ll definitely need are pine boards and exterior screws.
For untreated pine, I’d recommend picking up some of the raw linseed oil or tung oil to make your boards more durable. If you’re using treated pine, I suggest picking up the plastic sheeting to lay down between your boards and the soil.
For pre-cut boards, the only tool you’ll need to complete this project is a drill. If you’re cutting your own boards, you’ll also need a tape measure, a saw, saw horses, and protective equipment.
Once you have all your materials cut, you just line them up and use your drill and screws to connect your boards. The preparation for this project is significantly more intense than the actual construction part!
Adding your soil
The next step is adding your soil. When you place your soil in your beds, you’ll want to keep it loose to allow water and nutrients to freely flow and to give your plants’ roots the space they need. The soil should also be nutrient-rich so your plants are getting the food they need. If you have access to compost, mixing some of that in with your soil is a great idea to provide your plants with lots of nutrients!
Plant your garden!
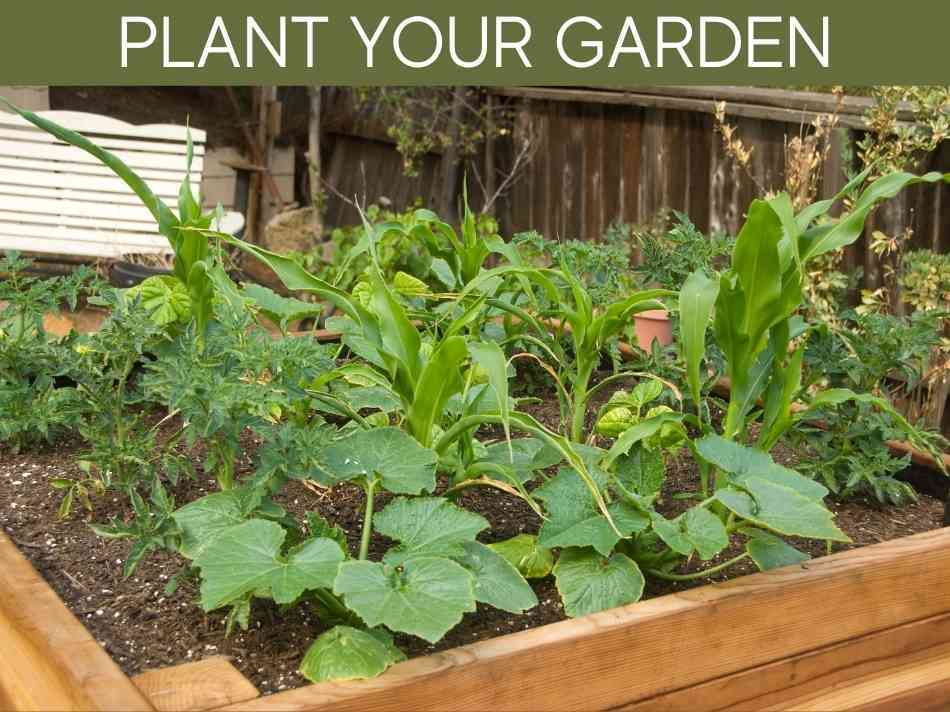
If you’ve hung in there this long, you’ve made it to the final and most exciting step: actually planting your garden! Make sure to give your plants enough space to grow – some need more than others, and you can find this information either at the gardening store, sometimes on the tag of the plant, or by looking it up. You’ll also want to pay attention to sunlight as it’s likely that some of your plants will need more than others. When you’ve finished planting, make sure the soil is still loose. Congratulations! You now have a beautiful pine raised bed!
Related questions
Is yellow pine good for raised beds?
We get a lot of questions about yellow pine because it’s one of the most common materials used in home construction, so it’s easy to find. Yellow pine is great for raised beds! It is very strong and will hold those exterior screws well.
How long will untreated pine last in raised beds?
Because pine is known to not last quite as long, our gardeners always want to know how long untreated pine will last. We can’t give a definitive answer to this question because it depends on your climate and the bugs in your area, but on average, they last about five years. They aren’t rot-resistant, so it’s good to keep an eye on your boards and replace them as you see signs of rotting.
How long will pine raised beds last?
Raised pine beds last an average of five years, but it depends on weather, bugs, and also whether you use treated or untreated pine. Treated pine will likely last longer than five years, but the chemicals in the treatment are generally believed to have negative effects on plant growth and on safety of produce.