Beans are easy plants to grow in the garden, but can also be grown in the classroom, making them a good subject for young botanists to observe the life cycle of a plant.
They are reliable germinators, have large easy-to-see seeds and growth stages, and grow quickly.
To grow beans in a bag, soak beans in water for 3-4 hours, then put in a bag with a paper towel. Check on the beans daily, & keep them moist. In 65 – 75 degrees F, beans will sprout in 4-8 days. As a classroom activity, a clear plastic bag allows students to view seed development.
Beans can be grown in a Ziploc bag, allowing both the shoots and the roots to be observed, or in a cup to get a bigger plant.
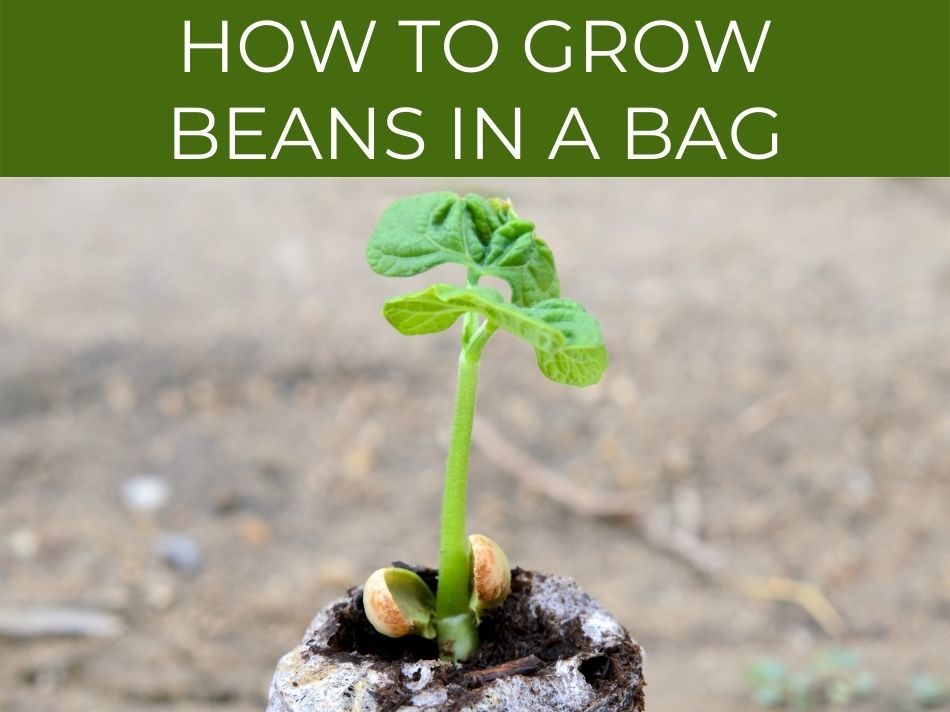
How to grow beans in a bag
Beans are so easy to grow, that you don’t even need soil to get them going!
See our post on growing with hydroponics (growing plants without soil).
A Ziploc bag allows you to watch all the early stages of the plant life cycle, as you can see what happens both above and below the soil.
Use paper towels instead of soil to get a good view of the root system, and you can also observe the stages of growth.
Stapling the bag will keep the bean in a good position, but don’t forget to leave gaps between the staples for the roots to grow.
Soak beans overnight. Place a couple of damp paper towels into a zip lock bag. Put two beans into each bag, on top of the paper towels, and tape it near or on a window. Keep the paper towels moist and watch the beans start to grow.
Put a couple of beans into each bag, just in case one doesn’t germinate.
Tape the bag onto a window or in a sunny position.
Keep the paper towels moist as the bean sprouts and begins to grow.
You will need to check the beans daily, to add water and to see what has happened!
See how to grow lima beans in a bag.
Check out the complete article on the life cycle of a bean plant.
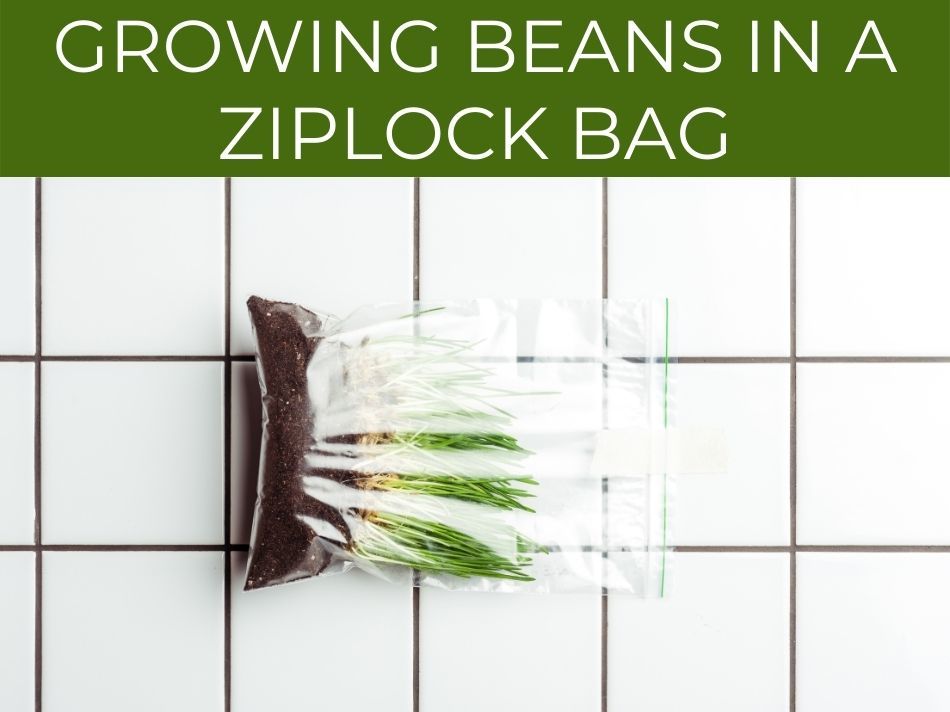
Growing beans in a Ziplock bag
Using a Ziplock bag to grow your beans means that you can see what is going on with both the shoots and the roots.
Using a Ziplock bag to grow your beans is a good option because you can see the growth of both the shoots and the roots. The plastic keeps the beans and paper towels moist, and the bags are simple and easy to hang where they will get enough light.
The bags can be taped onto a wall near a window, or taped directly onto a window.
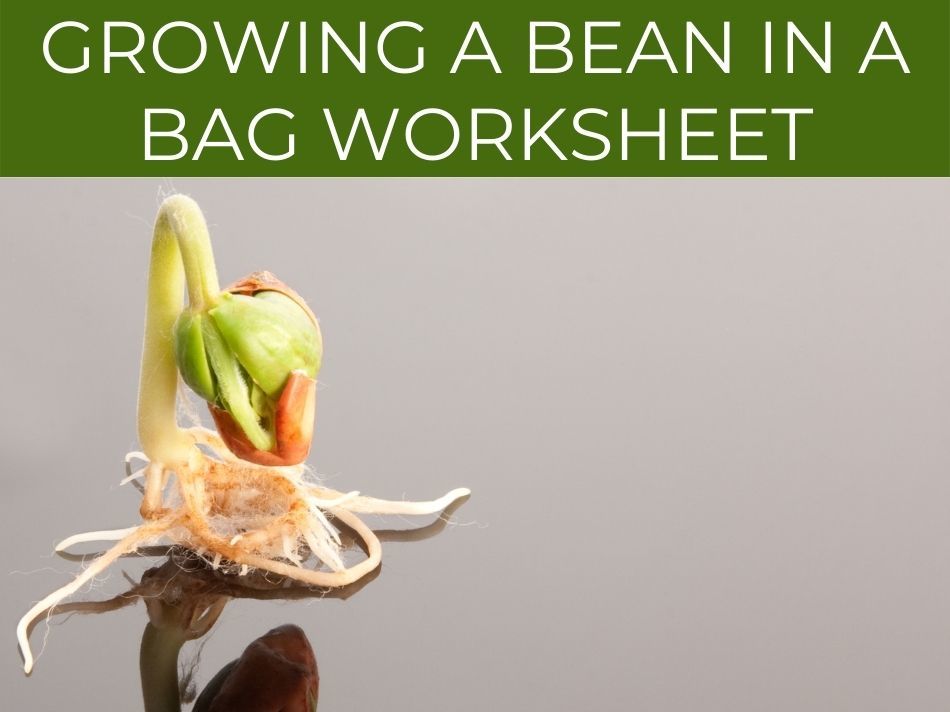
Growing a bean in a bag worksheet
Create a worksheet for your students to use alongside the beans in the bag.
Before you start, ask the students what they expect will happen to the bean and how long they think it will take to grow.
Once you have set up the beans in the bag, ask the students what they think the bean needs to grow.
They should be able to recognise that the bean will need water, light, air and warmth.
Check out this post for a full summary of the science behind photosynthesis.
Start the worksheet with some questions about what the student expects to see. In the next section, ask about the set-up of the bean in the bag and what the bean needs to grow. In the final section, create an observation journal for the students to follow the bean’s life cycle.
For the main part of the worksheet, design a journal for the students to record the growth of the bean.
You can include a space to draw the bean, a space to record the number of days, and a space to write or label new parts of the plant that they see.
For more advanced students, you could give them a list of scientific names of the plant parts and get them to match them up as they see them grow.
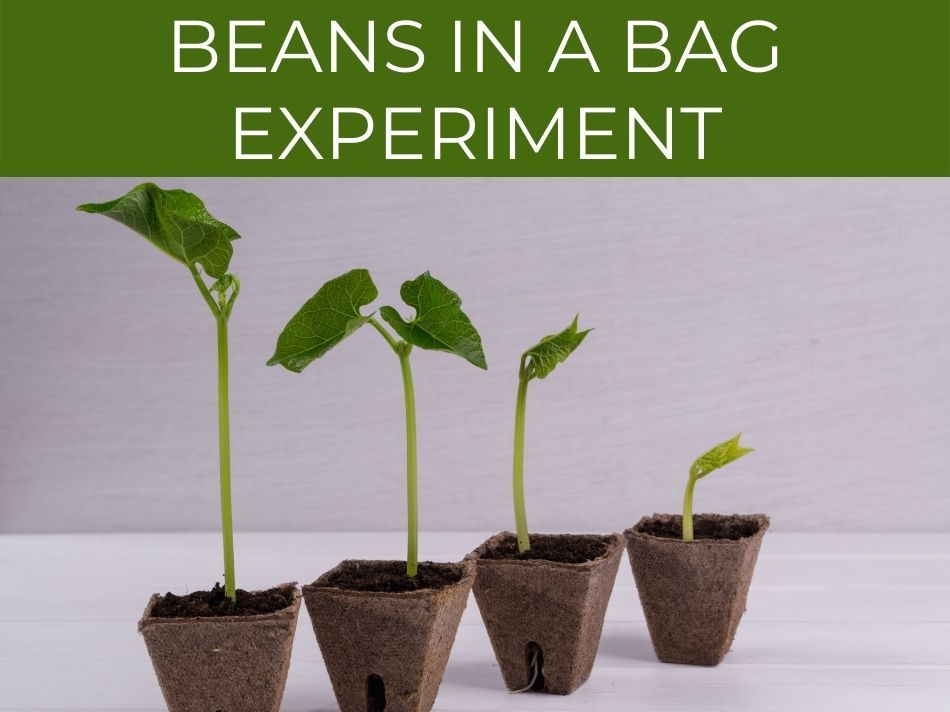
Beans in a bag experiment
The bean in the bag activity can easily be turned into an experiment to find out what conditions beans grow best in.
If you are doing this activity with a class, you can get each student to set up their beans in the bag under a slightly different variable.
You can vary the bean variety, the amount of light that the bean grows in, the amount of warmth, the amount of water that is added, and also try keeping the Ziploc bag shut.
Turn the beans in a bag into an experiment to see what conditions beans grow best in: Students can try using different bean varieties, placing the bag in locations with different amounts of light & heat, keeping the Ziploc closed, or adding more or less water.
As a class, you can use group observations to see which conditions make the bean grow best.
Find out whether beans are a fruit or vegetable.
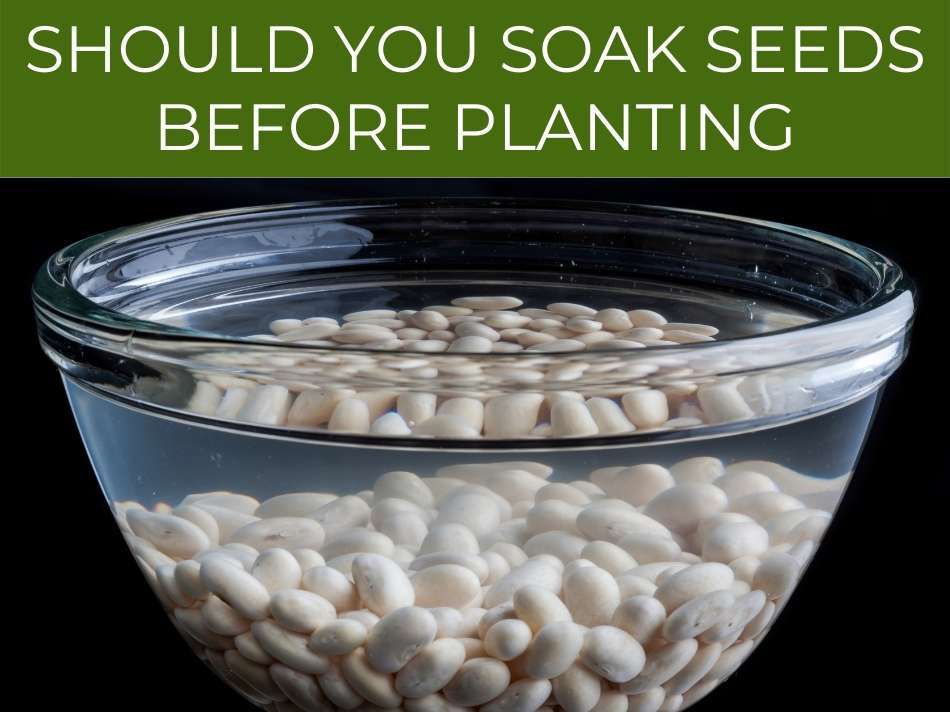
Should you soak seeds before planting
It’s a good idea to soak the beans overnight before planting.
Soaking speeds up the germination process, so students can see the bean beginning to grow more quickly.
Soaking the beans before planting will speed up the germination process, as the hard outer coating absorbs the water and will split faster. Only soak the beans overnight, as if they are left for too long they can begin to rot and will not germinate.
Don’t soak beans for longer than overnight as they can begin to rot if they are left in water for too long.
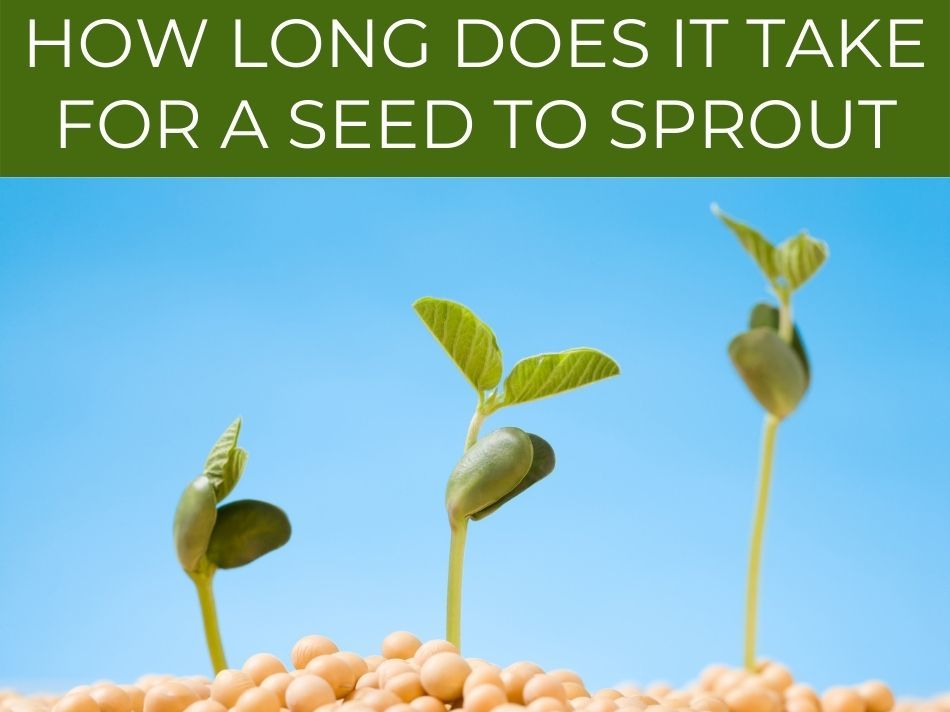
How long does it take for a seed to sprout
The time it takes for a bean to sprout depends on the variety.
Lima beans, pinto beans, mung beans and lentil beans are some of the fastest to sprout, and you will see the first roots after two to five days.
Depending on the variety and conditions, a bean can take anywhere between two and ten days to sprout. Choosing a bean like lima beans, using fresh beans, pre-soaking and placing it in a warm place will speed up the process.
Pre-soaking the bean, and making sure it is in a warm place will speed up the process.
Also, make sure that you are using fresh beans, as old beans will take longer and may not germinate at all.

How to plant beans in a cup
As an alternative to the bean in a bag, beans can be grown in plastic cups.
To grow a bean in a cup, you will need to fill it with soil and make a small hole about twice the depth of the bean.
Plant two beans in each cup just in case one doesn’t germinate.
To grow beans in a cup, fill a plastic cup with soil and plant two beans in a small hole that is about twice the depth of the bean. Place the cup on a sunny window sill and water with a small amount each day.
Place the cup in a sunny, warm spot and keep the soil moist by adding a little water each day.
You won’t be able to see the roots growing using this method, but the beans are likely to grow bigger than with the Ziploc bag method.
See our post on mini indoor greenhouses for more ideas on growing plants in the classroom.
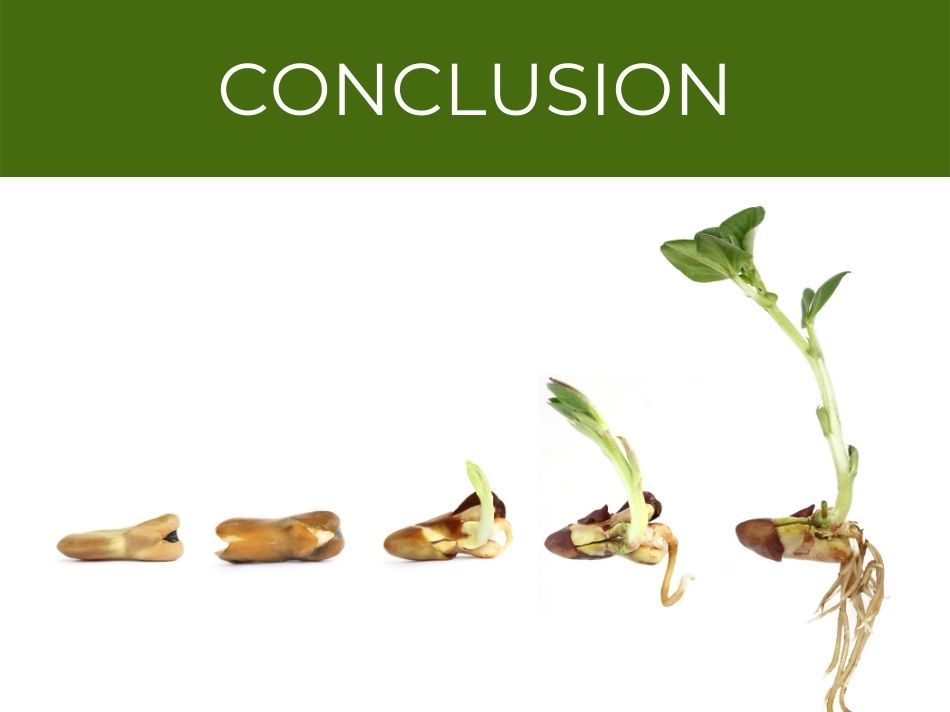
Conclusion
Growing a bean in a bag is a simple classroom activity to introduce young students to the life cycle of a plant, and allows them to directly observe day to day growth.