If you’re using fluorescent grow lights, you might find that the lights can be finicky. Fluorescent grow lights–like all fluorescent lights–have a ballast, which sometimes goes bad. But how do you tell if a ballast is going bad?
A bad ballast will have a loud buzzing or humming noise, flickering or dim lights, or tar-like substance leakage. You can test a ballast by inspecting for physical damage; a multimeter will also detect insufficient output voltage from the ballast.
If you’re an enthusiast or amateur indoor grower, managing an effective grow light system can be tricky. Fluorescent lights are popular & affordable, and give you control over the intensity and level of illumination. For potential fluorescent ballast issues, read on!
What does a grow light ballast do?
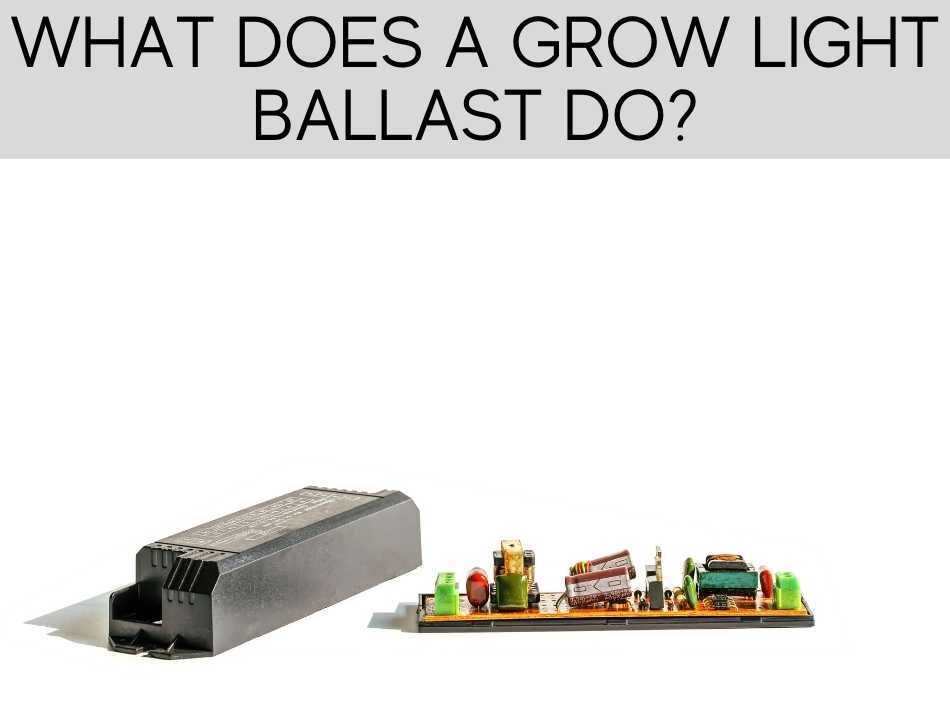
The ballast is a small but crucial device for gas-discharge grow lights–typically fluorescent lights & HID bulbs.
A grow light ballast mediates between the amount of energy received from the outlet and that required by the lamp.
Basically, a ballast ensures that the light receives sufficient–but not too much–voltage from the power source.
In gas-discharge lights like fluorescent bulbs, an electrical arc needs high voltage to vaporize the mercury and sodium particles.
After the bulb starts emitting light, slightly less energy is required by the bulb.
So, the light fixture needs a regulator to control the inflow of current. The ballast does that for us.
If you’re thinking of switching from fluorescent to LED grow lights, you should check out our full article on whether LED grow lights work.
The 2 types of ballast
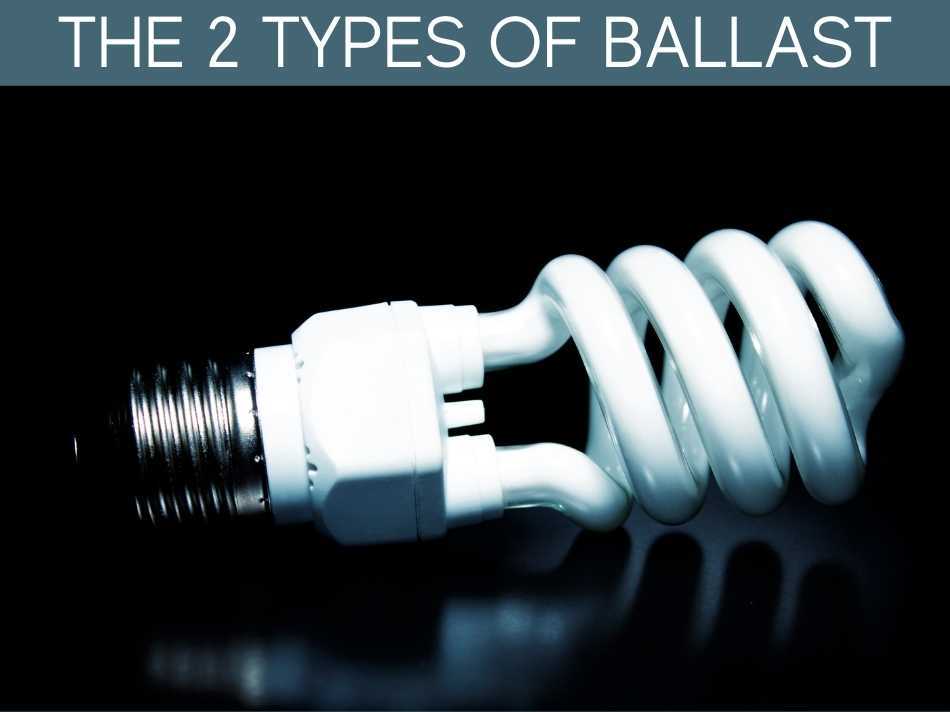
There are two types of ballasts: Magnetic and Electronic.
A magnetic ballast emits more heat and consumes more energy.
It also causes flicker during ignition timing. Many magnetic ballasts, including T12 lamps, are illegal to manufacture and sell in the United States.
Generally magnetic ballasts are an older technology, and are not recommended for grow lights.
On the other hand, electronic ballasts utilize SSD technology for smooth and power-efficient operation.
Also, these ballasts can run with several bulbs at various wattages.
This flexibility makes electronic ballasts a better option for indoor gardening.
Meanwhile, you can use a single fluorescent light fixture throughout a plant’s life cycle – from seedling to the flowering stage.
Several studies, e.g., Yahya, Murni (2008), have been conducted to improve electronic ballasts.
Basically, electronic ballasts are more efficient and reliable, and virtually all electronic ballasts for grow lights use a microprocessor for precise control.
Speaking of fluorescent electronic ballasts, there are 2 types:
- Rapid Start Circuits instantaneously lighten the lamp, whereas
- Programmed Start Circuits first warm the electrodes to 700 ⁰C. This type ensures the maximum lifespan of the lighting panel.
LED lights don’t need a ballast.
In case you’ve installed other types of grow lights, check out if they require a separate ballast. Grow light kits generally include all the essentials.
Afterward, you have to investigate the wattage, lumens, and the ballast factor to determine your greenhouse’s additional settings.
How do you tell if a ballast is going bad?

The plant parents are already aware of ballast and its troubleshooting.
If it remains unchecked, you might soon hear a bang.
So, how do you tell if a ballast is going bad?
Well, a bad ballast will exhibit unusual signs so will other malfunctioning components of the lamp.
Watch out for the following signs to spot a degrading ballast before it festers and becomes a bigger problem.
Flickering or dimming bulbs
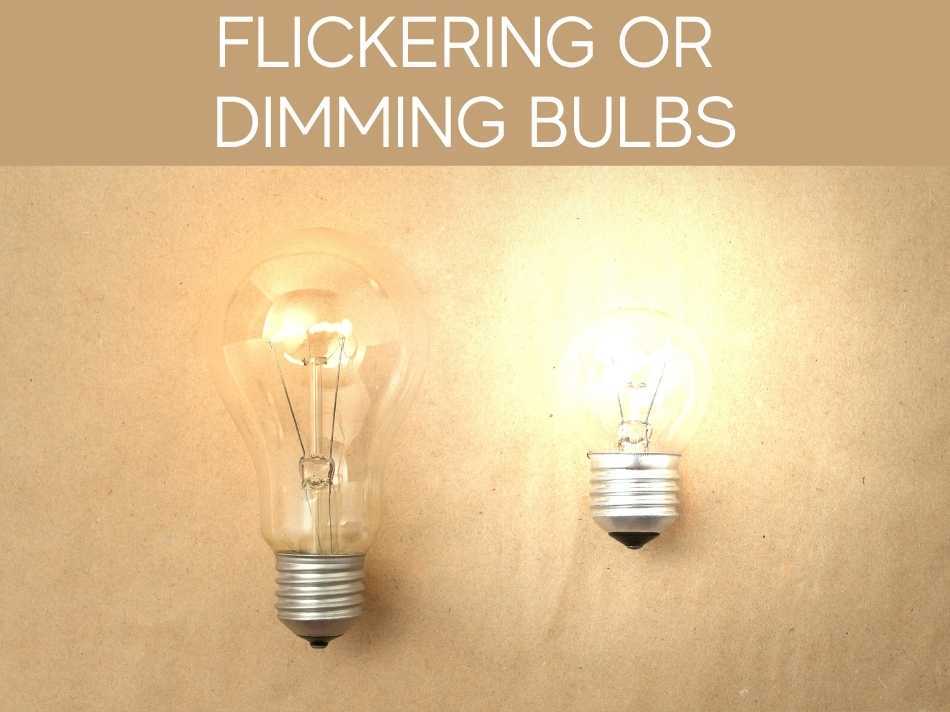
If the bulbs flicker and lack brightness, the ballast might be struggling to disperse energy at the same rate.
Likewise, if you notice odd colors coming from the bulb, it can indicate a bad ballast.
Grow light ballast buzzing
Typically, you’ll notice a slight hum or buzz with fluorescent lights.
That’s simply because they operate at the same frequency as AC power–typically 50-60 cycles per second.
However, a bad fluorescent grow light ballast can often start humming and buzzing much louder than usual.
It stops working altogether
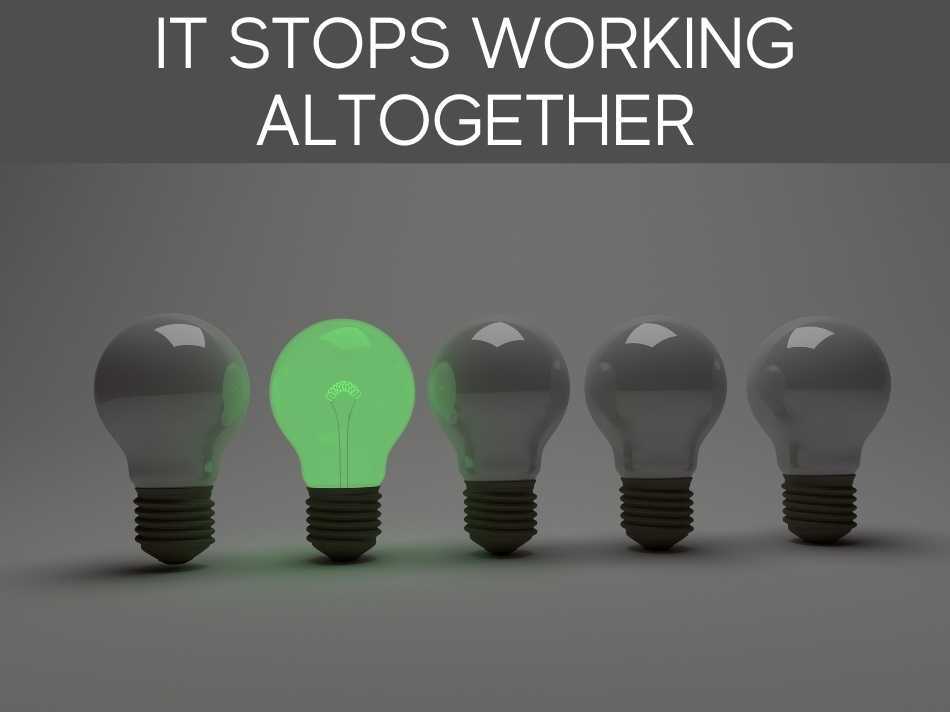
OK, well, if the light just plain doesn’t work–and you’ve replaced the bulb, then the ballast is clearly the problem.
Sometimes the entire ballast is bad.
Other times, the problem might be a component within the ballast–such as the starter, wiring, etc.
So, you might want to inspect the ballast to figure out precisely where the problem is.
Physical Inspection

If you remove the lens and the tubes, a solid device will appear affixed on the ceiling with screws. Remove its case and inspect for visible signs of damage.
Sometimes, the cover itself is swollen. Otherwise, the ballast might come out burned, leaked, or damaged. In any case, clean the fixture and replasce the case before replacing the ballast.
Electrical Inspection
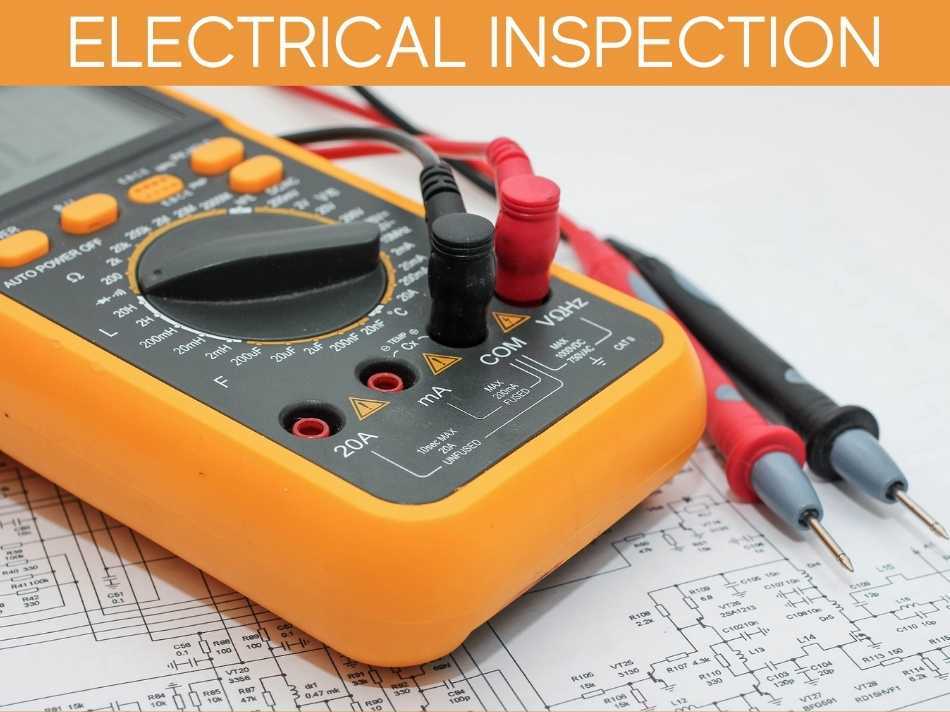
Often, there’s no obvious visible problem. That doesn’t mean that the ballast is all good though. For an accurate assessment, you need a multimeter.
Switch the multimeter to the ‘Ohm’ setting within the range of x1-x4K. Hook the white wire into a clip and check its connection with the rest of the cables successively. The basic process is to verify whether all wires show maximum resistance.
There shouldn’t be any rating on your digital multimeter. If you’re using an analog device, the needle should sweep to the right. The rating or dormancy on any connection means your ballast is bad.
The electrical inspection is done after the physical inspection.
But an electrical inspection provides a more accurate assessment for whether there’s a problem.
How to fix a grow light ballast?
OK, so maybe you detected some potential symptoms. You’re pretty sure that the light tubes and wiring is OK.
Hopefully, you’ve checked the starter (although later models manufactured in recent years don’t have a starter; however, the older ones featuring Programmed Start Circuit used to have one).
If everything seems good, chances are high the ballast is going bad.
Remember, an electronic ballast needs replacement, not repair. They’re more expensive than the older (and inefficient) magnetic ballasts, but last for years.
Also, note the specs given on the existing ballast, so you can get a new ballast that matches those specs.
A bad ballast, especially the older magnetic balances, are important to identify & fix or replace, due to fire hazard.
Things you’ll need:
- Screwdriver
- Wirecutter
- Twist-on wire connectors (also called wire nuts)
- A new ballast
Steps:
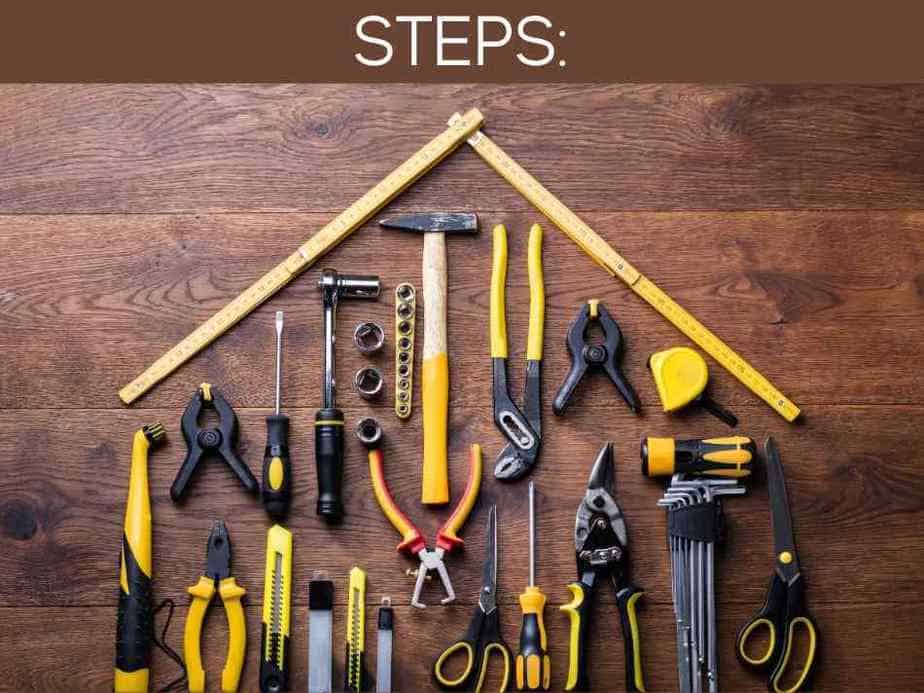
- Turn off the power from the circuit breaker.
- Remove the lens and tubes by rotating them 90⁰.
- Remove the ballast compartment hiding all the wires.
- Cut all the wires from halfway to the ballast and the edges of the fixture.
- Unscrew the nuts holding the ballast, and install the new ballast.
- Strip the electrical wires 0.5 inches from the edges.
- Twist together the same-colored wires coming from the ballast and the ceiling.
- Put wire nuts atop of the joints.
- Put the compartment and the tubes back on.
- Turn on the power.
Hooray! You now have a newly-functioning grow light..
As always, when doing any electrical work, it’s imperative to turn off any electricity before working on components.
Final Words
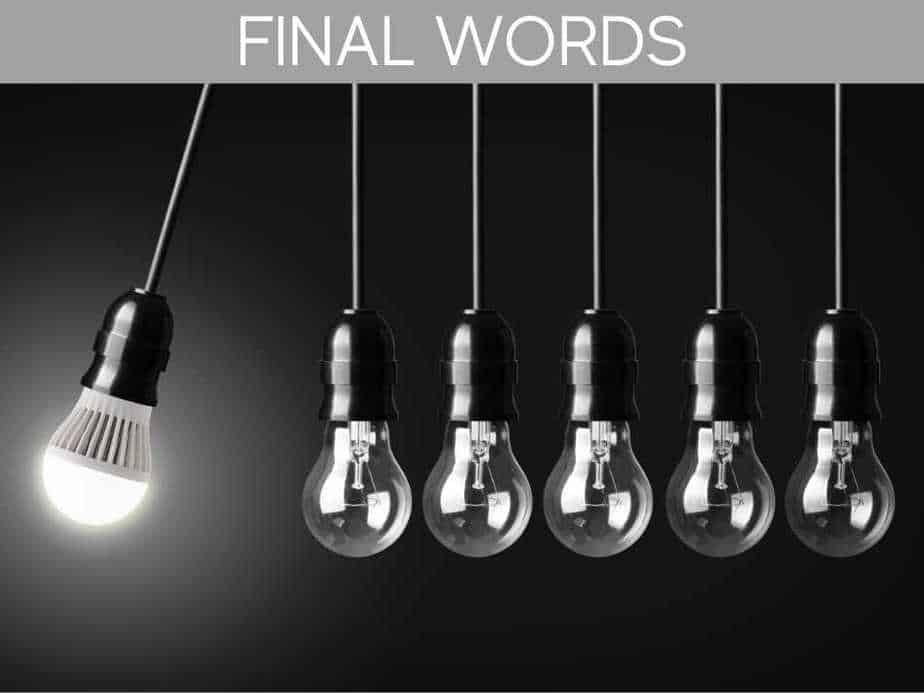
A worn-out ballast is an opportunity to upgrade your system with LEDs. Light-emitting diode bulbs are expected to account for 76% of the lighting market by 2025.
Likewise, you might want to check out our complete article on growing vegetables with artificial lights.
However, fluorescent lamps are also tested & trusted, and can be reliable grow lights for many years.