Is there anything plants need more than water? Sure, they need light, too, but the sun has a well-established history of coming up every day (more or less). Wouldn’t it be nice if you could be sure that your plants will be watered the perfect amount, and equally as automatic as the sunrise? In this article we’ll help you to understand the ins and outs of automatic watering.
Set up an automatic watering system is to drill small holes across an old garden hose. Place a cap on the free end and snake the hose through your garden with the holes lining up close to the base of the plants. Connect this soaker to the in-use garden hose and add a simple timer.
There are a ton of different ways to get your plants the water they need without you having to remember or give them constant attention. Find out which method works best for you!
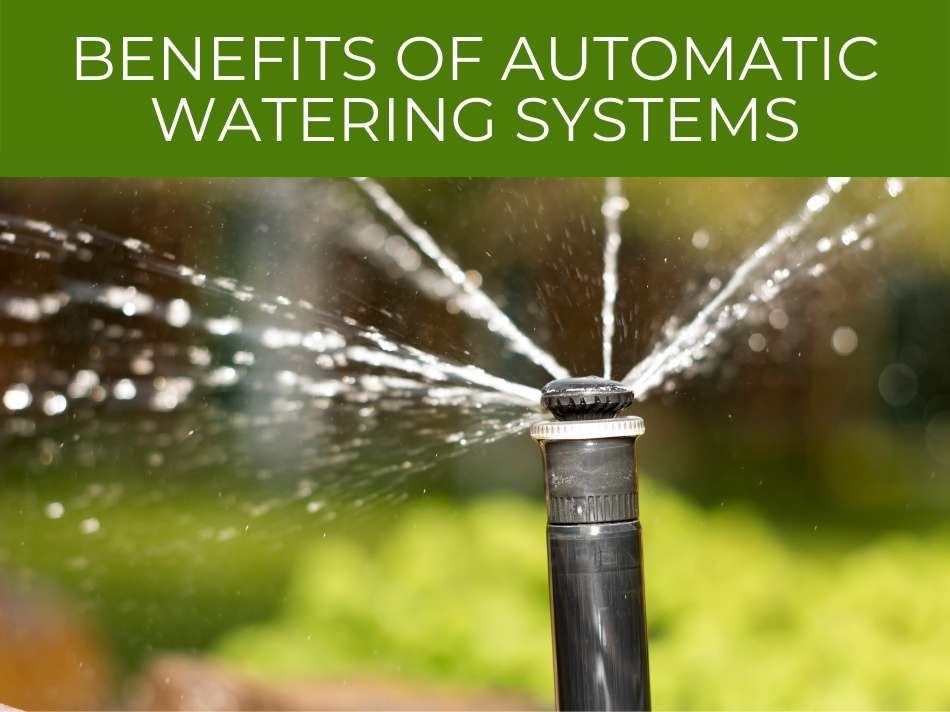
Benefits of Automatic Watering Systems
Caring for a garden isn’t always easy! There are certainly parts that just feel like chores. And some plants aren’t so low maintenance that they’ll forgive you if you forget to water them under a blazing sun.
Setting up an automatic watering system will get rid of any of those worries about having to remember. It takes one more thing off your chore list and off your mind.
And, I mean, you should be able to go on vacation every once in a while without the idea of wilting plants distracting you!
For a larger garden, having an automatic watering system also might be better for the environment, and your wallet. Lots of watering is done in excess, but by installing a system in which the water is delivered straight to where it’s needed and at the times when it’s needed – nowhere else and no other time – there’s often a substantial decrease in the amount of water used. It’s much more efficient.
And another great thing about setting up your own watering system, as is true with any DIY project, is that you get to customize it entirely to your needs along the way, and you have complete control over it. Certain systems work best for certain plants, some plants need more water than others; maybe you have a sizeable garden or maybe just a couple raised beds, or maybe even just some houseplants.
In any case, there’s a watering system for you, waiting patiently to make your life easier. Let’s get started!
Aspects to Consider
There are a ton of systems and trying to figure out which one is best for you might seem a little overwhelming at first. Here are some things that would be good to keep in mind as you start planning:
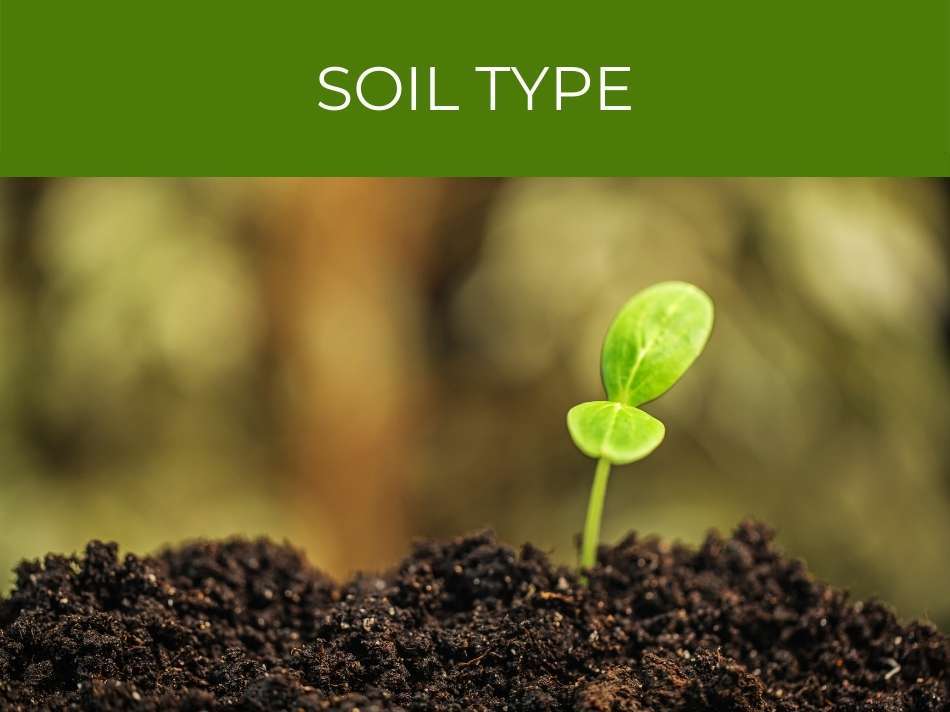
Soil Type
How long the soil in your area retains water is important to consider beforehand and can help you narrow down your choice.
In sandy soils, water is absorbed quickly, and dries up fast, as well. So, if you’re going to use a timer for watering sandy soil, you’ll want to set it up to give more frequent applications for short times. If it runs for too long, the water will get too far from the plants and will be wasted. But if you wait and let it dry, then water, wait and let it dry, then water, each drop of water will be used properly.
Clay soil types, on the other hand, retain water for a much longer period – if applied correctly. When water is applied too quickly to clay soil, there will be runoff, and the water won’t get to the roots of your plants.
It’s best to apply water slowly through clay soils, and then wait for longer periods of time in between watering cycles. Because they hold onto it for so long, applying water at the same frequency that you would for sandy soils will end with the soil getting waterlogged and your plants drowning.
Size of the Garden
Next, consider the reach that your irrigation system will need. If you’ll need it for a larger area, then using a system that is very localized, such as ollas, might not be the best idea. Having a thousand pots in your garden to remember to check water levels of isn’t going to decrease your stress.
So, for larger gardens, check out more general systems, like sprinklers or soaker hoses to make a drip system out of. For smaller areas, localized systems such as ollas could be the perfect choice.
Your Plants’ Watering Needs
Of course, different plants require varying amounts of water. If the plants in your garden need about the same amount, then you can move right on. However, if you have combination needs to meet, you’ll need something zone-specific or varying.
You can kind of force this upon certain systems yourself with careful placement. For example, sprinklers are very general with their range, but you can set them up in such a way that they’ll be closer to the plants that need more water, and further from the ones that don’t. Or when making a DIY soaker hose, you can drill more/wider holes that will line up with the plants needing more water.
But, if you don’t want to have to manufacture this customization, opt for a method that specializes in giving out water steadily on an as-need basis, like the ollas.
Weather
If you don’t get a lot of precipitation in your area, you can pretty much run your system on a timer and leave it at that. But, if you know that you’ll be getting rain somewhat regularly, consider getting a rain sensor. If there’s been a lot of rain, this will prevent your money from going down the drain – literally – and causing accidental drowning to your plants.
Let nature do its thing, whenever possible.
But weather won’t just affect the times when you should water, it also affects the way you should do it. If you’re in a windy area, a sprinkler system won’t work super well. Keep your region’s weather conditions in mind.
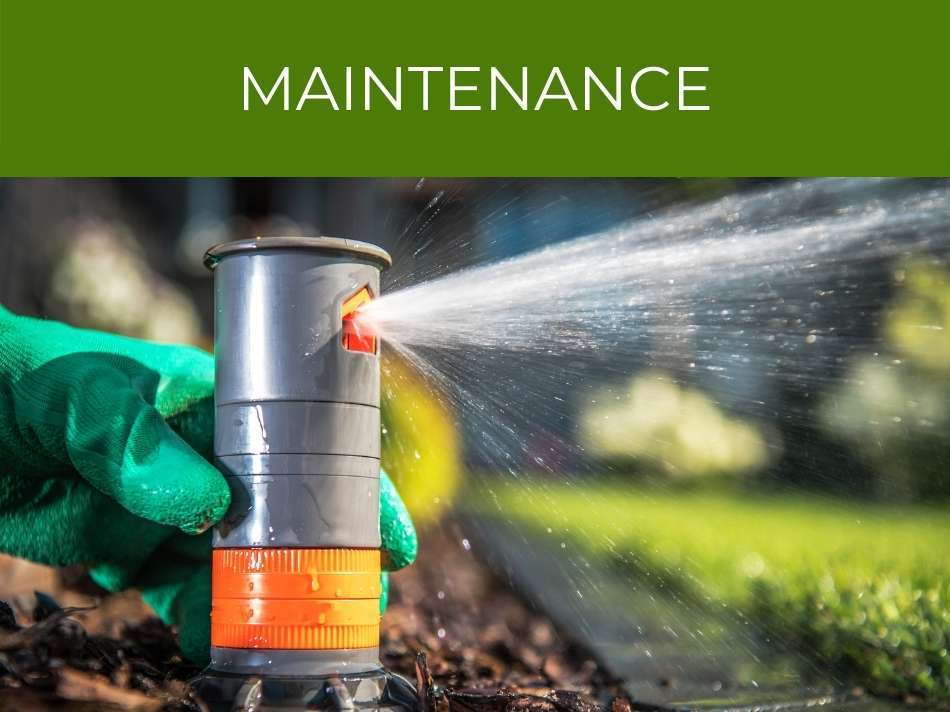
Maintenance
One of the biggest benefits of having an automatic watering system is that it should significantly lower the amount of day-to-day maintenance required for gardening. Unfortunately, there will still be some maintenance of the system itself, though less frequent.
If you’re using ollas in your garden or raised beds, you’ll need to occasionally check that they have water in them and add more when they’re low. Even with systems that are directly connected to water sources, you will still have to check the health of your plants regularly.
And in winter, you’ll want to make sure that your system is still, well, functional. If it’s freezing over, you might need to switch to a different method or return to the prehistoric days of watering the plants yourself for a while.
Also, after setting up your automatic watering system, make sure to periodically check on your plants well-being in those first few days to see if any adjustments need to be made.
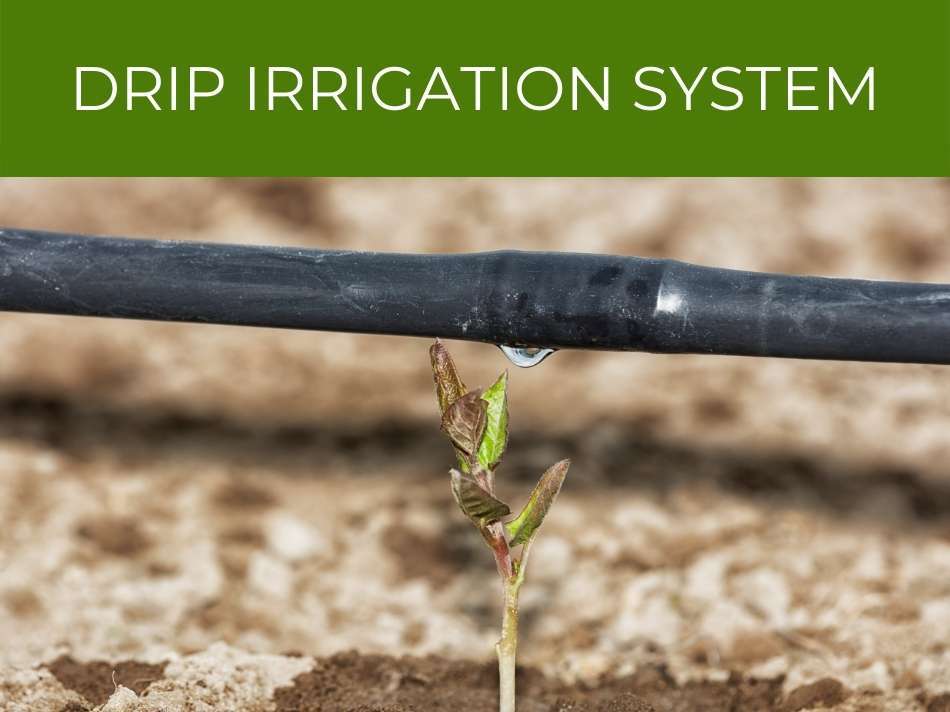
Drip irrigation system
Drip irrigation systems are a great choice for automatic watering, and are one of the most common types of automatic watering systems. They’re used for:
- large-scale commercial farms
- homestead farms
- backyard gardens
- raised beds
Yep, they’re super versatile, plus, they’re easy to set up–even if you don’t have much DIY experience. For example, a drip irrigation system for raised beds can cost under $100, and can be set up in an afternoon.
Drip irrigation pros
- Low cost
- Uses less water
- Schedule automatic watering
- Simple setup
- modular & scalable for nearly any size & requirements (large farms, backyard gardens, landscaping, etc.)
Drip irrigation cons
- Requires annual maintenance (typically you only need to replace clogged drippers & check for leaks)
- Indoor drip irrigation systems require access to a hose bibb or other pressurized water source
Drip irrigation parts
You’ve probably seen all the parts in the aisle at Home Depot or Lowes. The sheer variety of drip irrigation parts might seem overwhelming, but it’s really pretty simple. For nearly any drip irrigation project, all you need are:
- drippers
- tubing (typically, you need both large (1/2″) and small (1/4″) tubing)
- connectors (T-connectors, straight-line connectors, and a connector to your water supply)
- timer(s)
For my money & time, drip irrigation is what I’ve used for years. It’s simple, effective, and does all the watering for me after I set it up.
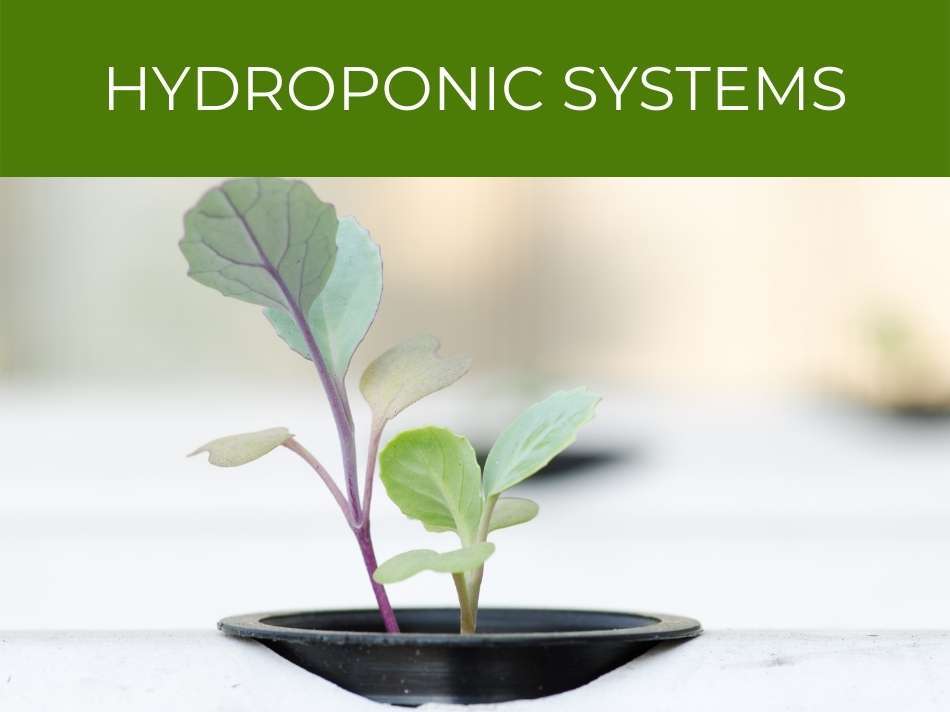
Hydroponic Systems
Again, what is it that plants need most? Sunlight – check. Water – check. Soil? Well, not exactly.
It might seem kind of strange at first to imagine growing plants without using soil, but the fact is that soil isn’t as much of a necessity as it’s a convenient (and plentiful) medium to hold and help transfer nutrients – namely, nitrogen, phosphorous, and potassium – into the plants. So why not just kill two birds with one stone? Put the nutrients in the water and make watering automatic!
Hydroponic gardening has shown to have lots of benefits too. There’s less maintenance involved, hydroponic growers often report higher yields, and, believe it or not, the amount of water used is less overall with hydroponics than with soil, because the water is almost always getting recycled.
Some gardeners swear by hydroponics while others haven’t so much as heard of the techniques. There are a few different systems we’ll talk about here. Each design is made to have automatic watering/nutrient-delivery, and each one works best for a given plant type. The final verdict is up to you! Let’s dive in.
Deep Water Culture
The deep water culture system (or DWC, as the cool kids say), is probably the simplest of all the hydroponic designs.
So, in a hydroponic system, plants are connected in some way to a water-based nutrient solution. The delivery method varies but the basis is the same.
A DWC system is literally just some kind of container filled most of the way up with the nutrient solution, and the plants sit on top. It’s that easy.
Typically they’re kept in a plant tray to keep them separated and afloat, but the root systems are completely submerged at all times. Can’t get much more “automatic” than that.
The downside to the simplicity is that, of course, not all plants can tolerate that constant soaking. Overwatering a plant can be just as bad as underwatering and can result in the roots experiencing rot. An air pump and/or water pump is often included to maintain some circulation. Still, it’s a lot of water, constantly.
For that reason, this system only works with small, light, water-loving plants like lettuce and other leafy greens; but for the record, it works really well with them.
So, if you’re looking to get started with a low-maintenance hydroponic system and are craving salad, DWC is the way to go.
Wick System
Next up in the list of hydroponic systems and also next up in the complexity level is the still-very-simple wick system.
This set-up is like the DWC but with an additional step. Here, you fill the container most of the way with the nutrient solution, but instead of placing the plants themselves directly into the solution, they are kept in a tray above the container (it would need to be deeper than the tray used for the DWC, which could be completely flat) and within a medium like vermiculite, perlite, or coir.
The plants don’t touch the solution directly. Instead, the nutrients are fed to the plants through a wick by the magic of capillary action, which requires no electricity! The wick has one end placed in the solution and the other placed within the medium, and as long as you’re using an absorbent material like cotton, the plants can suck up nutrients through it like a straw.
But unfortunately, gravity is always on. It takes time for the nutrients to reach the plants; sometimes the plants are taking in more than the wicks can steadily supply. Because of that, this system is best for plants like herbs that don’t need a ton of water.
Let the passive system water your plants, and you’ll only have to stop by whenever you need a sprig of rosemary.
Ebb & Flow
The ebb & flow system has more requirements for the initial set-up, but, as a trade-off, you get much more versatility in the types of plants you can grow in it. If you wanted, you could even grow some root vegetables, as long as you make the proper adjustments.
It works like this: the plants are kept, again, in a grow bed filled with a medium directly above the nutrient reservoir. But rather than relying on the passive system of a wick, there’s a timer and a water pump set on a predetermined schedule.
When it’s time (according to the schedule you set up at the beginning), the pump will activate like a faucet turned on and flood the grow bed for long enough that the water level reaches the plants’ roots. The grow bed needs holes at the bottom so that the solution can drain back into the container below.
When the time’s up, the pump will shut off and the water will drain. And the cycle continues, with the help of the timer.
This is a popular system for hydroponic gardeners. Admittedly, it requires more at the beginning, but doesn’t really require more maintenance than the other systems after that initial set-up. And since you set the timer yourself, there’s a lot of customization that can be done for different plant types.
Bonus: it’s like having a cheap, functional water feature.
Drip Hydroponics
The ebb & flow system is also called the “flood and drain” method. A drip hydroponics system is similar to it, but as you can probably tell from the name difference, it’s at a slower, more controlled rate.
In the same way as the ebb & flow, the grow bed sits above the nutrient reservoir, and a water pump delivers the solution up to the plants. But instead of a cycle of flooding and draining, the timer activates the pump and the water is dripped to each plant base by a drip line.
Drip irrigation is very popular and comes in many forms; it’s the same idea as the soaker hose weaving through the garden, with the holes lined up near the plants. In a drip hydroponic system though, the water gets recycled, falling to the bottom of the grow bed and back to the container below.
That is, if you’d like it to do so. Sometimes this system is done without the water recycling, because, after a while, the solution below will have a change in pH and you’ll need to remix it to make sure plenty of nutrients remain.
Still, the watering process becomes very hands-off with this system.
Nutrient Film Technique
The last hydroponics system we’ll talk about here is the nutrient film technique, or NFT.
The structure of this system looks the most futuristic, if you ask me. In a container, the plants are kept at the top and in individual net pots – no medium is used for this method. Out of the bottom of the pots, the roots hang down enough so that they can reach near the bottom of the larger container.
From the reservoir, the nutrient solution is pumped upward and falls directly into the plant-holding container – which is kept at an incline, allowing the water to slowly trickle across just the roots of the plant as gravity pulls it back down, and then fall back into the reservoir through a drain at the lower-end of the plant container.
The NFT method might be the kind of system you think of first when hearing “hydroponics,” because, unlike some of the others, it requires no medium while still including moving parts, unlike the DWC, for instance.
Another benefit of this system as opposed to the others is that it’s very scalable. You can imagine that adding more plants to this system, as long as you have a large enough container to hold them, wouldn’t be too difficult.
If you were wanting to scale up the ebb & flow system, on the other hand, that would require having a ton of water all at once, which just doesn’t make as much sense.
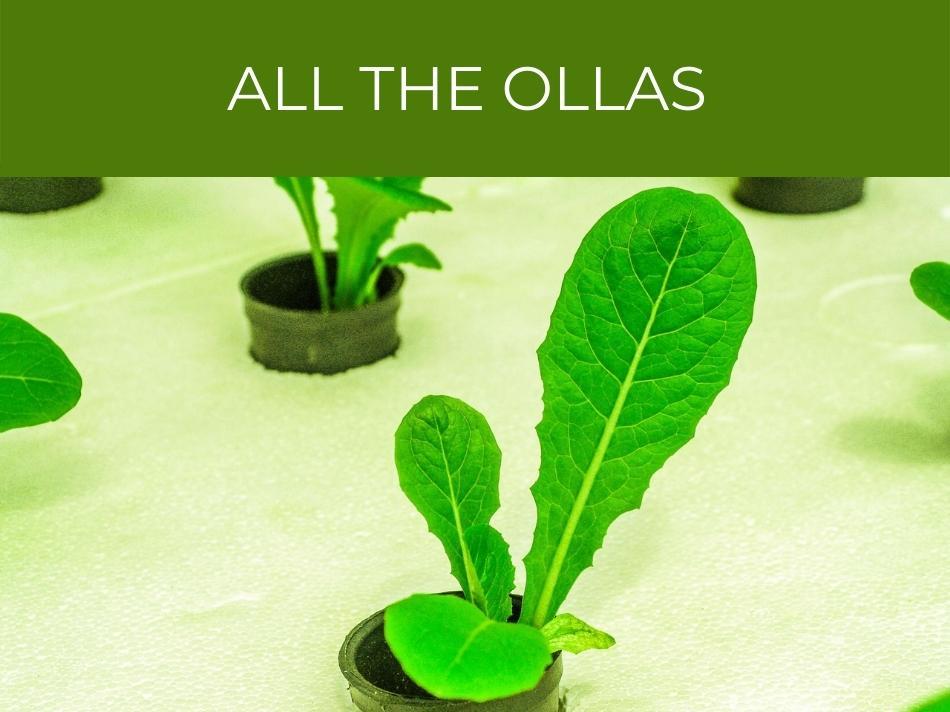
All the Ollas
Hydroponics might seem like a futuristic solution to automatic watering, but what if you want to use a more time-tested route?
Using ollas for irrigation is an ancient technique introduced to New Mexico by Spanish settlers. Its design is simple and easy, and surely, it’s for good reason that the technique is still used today.
An olla is an unglazed terracotta pot filled with water and buried into the soil. Without the glaze, water can slowly seep through the porous ceramic material.
How-to: Ollas
You can buy ollas that are already ready to be buried and filled with water straightaway, or you can go the DIY way. Odds are that you probably already have a few terracotta pots around, might as well put them to use!
If you’re wanting to use ollas for a raised bed, the easiest thing to do is take a couple of the terracotta pots, cover the hole at the bottom with a non-toxic adhesive, like mounting putty, to make a seal. Then, bury the pot around the plants you want to water, all the way up to the top.
After it’s buried, fill it with water and cover the top with the pot’s matching saucer so the water doesn’t evaporate.
And you’re done! The plants will draw water from the pot as it’s needed, and you won’t have to worry about them drying out even in blazing conditions. Occasionally, you’ll need to lift the lid off and make sure there’s enough water in there.
If you want to use ollas in a larger garden, you can make it hold more by sealing the hole at the bottom of one pot, as before, and then applying silicon along the rim and setting another pot on top. After it dries, you’ll have an olla that holds double! Bury it around your plants and you’re good to go.
One cautionary note: the roots of the plants will start to reach toward the ollas. So, it’s not a good idea to use ollas for woody plants – their tough roots might actually break the pot.
Outdoor Automatic Watering Systems
Automatic Sprinklers
There’s no denying that sprinkler systems have made their mark on gardens and lawns all over the place. But while their big streams of water give good coverage and are fun to splash around in, getting a system installed in your garden can cost thousands of dollars. Not to worry – you can make one yourself for much less.
You can probably find a sprinkler kit at your local hardware store for around $100, or you can grab some PVC pipe and sprinkler heads, which, after mapping your garden’s layout, shouldn’t take more than about an hour to put together and connect to your hose.
Remember to get a timer and set your schedule, then forget about it! Or go outside and play in the water, we don’t judge.
Soaker Hose Drip System
Another easy method to water your outdoor plants is to create a soaker hose. Drill a few holes across an old garden hose, place a cap on the free end, connect to the in-use garden hose, and snake the soaker hose throughout the garden. Connect a timer to the hose so that it only turns on according to a set schedule.
With drip irrigation, the water is typically left on for longer but at a slow rate. Run some experiments after setting up your system to make sure that the water is getting far enough into the soil, at least 4 inches, but not so much that the soil is waterlogged.
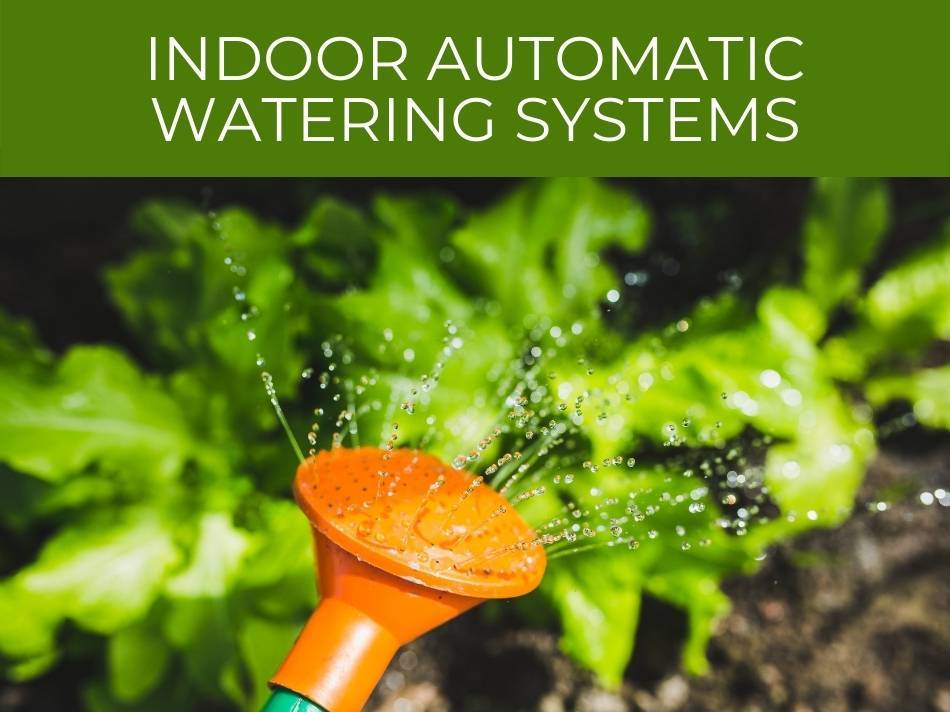
Indoor Automatic Watering Systems
If you have smaller, indoor plants, it’s easy to keep those alive during vacation too!
Spike or Glass Bottle
Got an empty wine bottle laying around? Any glass bottle will do, best if it has an aluminum cap. Puncture a couple small holes in the cap, fill the bottle with water and put the cap back on. Dig a small hole to fit the neck of the bottle and try to get the capped end of the bottle in there without making a big mess. And you’re done!
If you’d rather not DIY though, this works the same as using a self-watering globe/spike.
Mini Olla or Plastic Bottle
No glass bottles, just plastic ones? You can use those too.
First, bring your pots near the sink – you’re not going to want to carry this through the house. Poke some holes in an empty plastic bottle, fill with water, and bury it slightly in the pots.
This one works the same as using ollas outside! In fact, if you have any spare, miniature terracotta pots that aren’t being used, you could totally make a mini olla for your indoor plants to match the outdoor ones, and it would be very cute.
Bath
When you’re taking a bath, add some lavender for a nice relaxing touch. And when you’re away, grow your lavender in the bath! Along with any other plants you have in pots with holes for drainage.
If your bathroom or kitchen has windows giving enough light, you can fill your tub or sink with a few inches of water, lay a towel down, and put the plants on top. This should last up to a week. While you’re on vacation, your plants are at the spa.
Saucer
If you have smaller plants that don’t need much water, this would be the way to go. Fill a saucer (one that’s a bit larger than the pot) with water and leave the pot sitting on top. Of course, make sure the pot has holes for drainage.
Plastic Bag Mini Greenhouse
Now this method will last you a while. You could potentially set this up in your house just for fun, though, admittedly, the plastic probably isn’t the most appealing decoration. But the functionality is an A+.
First, water the plants, and say goodbye for now. Don’t add too much water. Then, if the plants you’re going to bag up are small, all you need to do is take a plastic bag and drape it over the plant, and tuck under the pot or weigh it down somehow. If the plant has a fair amount of foliage, you may need to use small wooden stakes to hold up the plastic.
Place the plants out of direct sunlight, unless you want the mini greenhouse to turn into a mini oven. Poke some holes in the plastic for better air flow, and voilà! The air and water should circulate like its own tiny ecosystem. Self-watering and self-sustaining.
Related Questions
How do I set up automatic watering?
To set up a simple drip system, drill small holes across an old garden. Place a cap on the free end and snake the hose through the garden or raised bed so that the holes line up with the base of the plants. Connect it to your in-use garden hose and add a simple timer.
How do automatic watering systems work?
Self-watering containers like ollas or watering globes distribute water only when needed because of soil tension. When the soil is very dry, the water is pulled out; when it’s wet, the water stays in the container. This makes the system very efficient, delivering water on an as-need basis.
What is the best automatic watering system?
When choosing the right automatic watering system for you, take some time to consider factors such as weather, soil type, the amount of water your plants need, and the size of the garden the system needs to support. Drip irrigation is a very popular, efficient, and easy-to-set-up method for self-watering.